For us to be able to keep your location data updated, a Facebook (FB) location needs to be connected to the platform.
Important
The user establishing the connection to Facebook must be administrator of the Facebook page. This article will show you how to check your Page Role in Facebook.
Claiming existing locations
If your business already has existing location pages, these must be claimed through Facebook first.
To learn about requesting access to Facebook pages, click here.
Step-By-Step Guide
Connect Individual Locations
Step 1 |
Go to the 'Listings' tab of the location and click "Connect" on the Facebook widget to start the process.

|
|
Step 2 |
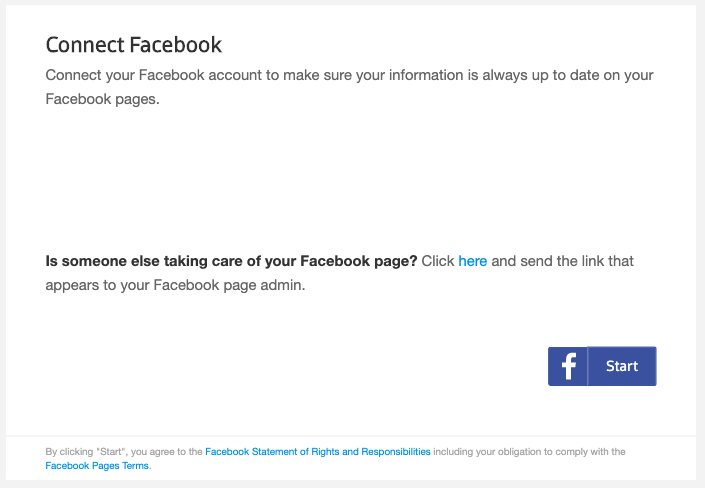
A pop-up window will open showing you the details of the location you are about to connect to the platform. If you wish to connect a Facebook page managed by someone else, please go to Step 5C. In all other cases, please click "Start".
|
|
Step 3 |
Make sure you log in to the Facebook account you manage the location(s) with already or wish to manage the location(s) with. Please note: If you have no Facebook Account you need to create one to be able to create a Facebook page. Find more about Facebook Business Manager and how to create an account here.
|
|
Step 4 |
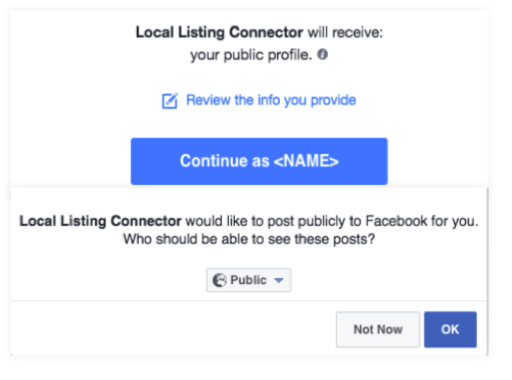
A window will open in which you are asked to grant the Local Listing Connector access to the Facebook account. Click “Allow”. If you have previously allowed access, this step will be skipped.
|
|
Step 5 |
What you need to do next depends on the current state of the Facebook page. We put together an overview for you covering all options below:
5A: Connect an existing company page that is managed by you
5B: Connect an existing unofficial (unmanaged) page
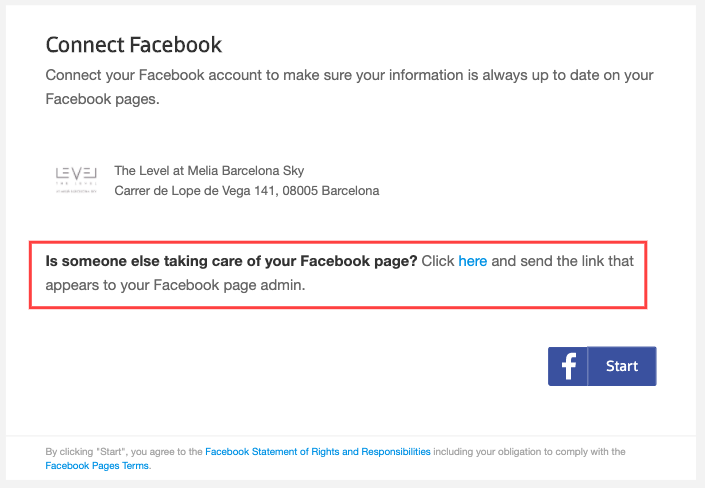
5C: Connect an existing company page that is managed by someone else |
Connect Locations in Bulk
To connect your locations in bulk, you must have a Main (Brand) page - location page structure. If this is not the case, you must connect the pages individually.
If you do not already have Facebook Business Manager account, follow the steps in this article to create one.
To learn more about the Facebook structures and their effects, click here.
To learn more about how to create a Main (Brand) page - location page structure in the Meta Business Suite/Facebook Business Manager, click here.
What does connecting in bulk (account level) mean?
The system will automatically map out all of the locations in your account to your existing location pages in Facebook. Additionally, if you have a location in your account that does not have a location page in Facebook, the system will create it automatically and nest it under the Main (Brand) page. The page name will be the Main (Brand) page name + location descriptor in parenthesis.
If you wish to change the location page names, you can do so by “switching” into the respective location page so that you see the option to edit the page and it's information. Then follow the instructions given by Facebook here.
Note
If your existing location pages have a different name than the Main (Brand) page prior to connecting, the system will NOT overwrite the name.
If there is a location in the account that you DO NOT wish to connect to this Main (Brand) page, then this is NOT the correct ‘connect’ option for you. Why? You will not be able to individually disconnect these locations.
Facebook Connect Scenarios
It is possible to connect multiple Uberall accounts to one Facebook Main page structure (see below).
However, it is not possible to connect one Uberall account to multiple Facebook Main (Brand) pages.
What does this mean?
You should split the Uberall account into multiple accounts prior to connecting.
For example, if you have three different brands within one Uberall account, you will need to split it up to ensure you can connect each brand to its own Main (Brand) page structure.
Connect Facebook
The next step is to connect your Facebook account.
Warning
Before proceeding, it is important that the location information in the platform is matching the Facebook location address data, otherwise the system will not recognise the location and potentially create a duplicate. If the store code matches the location identifier, the system will match the pages regardless of the address information.
There are two ways of connecting locations in bulk:
1. Through “Account Level Connections”:
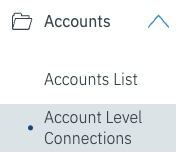
The first one is by navigating to Location Hub > Businesses > Account Level Connections Connections. If you do not have an Account Level Connections tab, skip the steps below (1.a.,1.b., and 1.c.).
1.a. Click on 'Manage Users'

1.b. Click on 'Add new' and log in with the user that contains the Facebook pages you wish to connect.

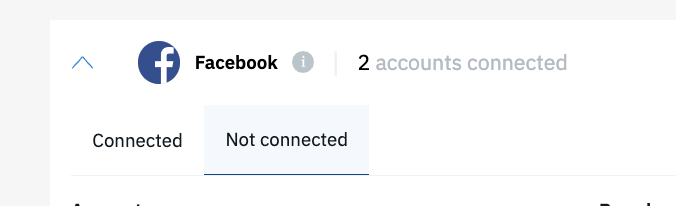
1.c. Click on Facebook > Not Connected accounts and click on 'Connect' . A pop up will appear and you will be guided through our Facebook Connect flow (see steps in screenshot below). At the end you will have successfully connected your Facebook Account! No further steps are required.
The system will match all the locations to the Brand page connected.
2. Through one specific location:
If you do not have the Account Level Connections tab, go to the Location Hub and filter for the Account you wish to connect.

This step is important because you want to make sure you are connecting the account to the right account.
Next, select one of the filtered locations and go to the 'Directories' tab. Proceed to click on 'Connect' and follow the process below.
|
Step 1 Connect Click on "Connect" 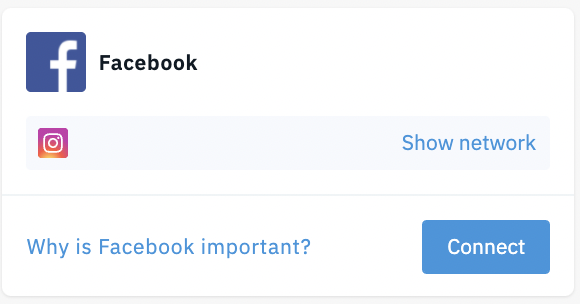
|
Step 2 Start
Click on "Start"
|
Step 3 Sign in Enter account details and click on "Log in" 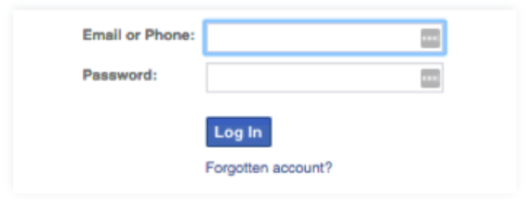
|
||
|
Step 4 Allow Access
Click on "OK"
|
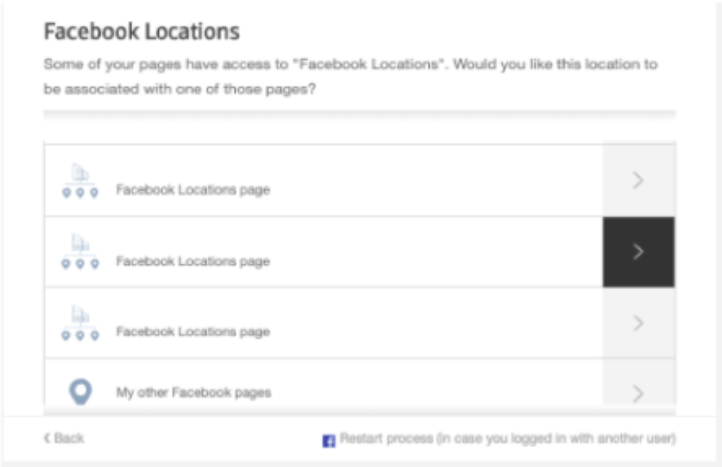
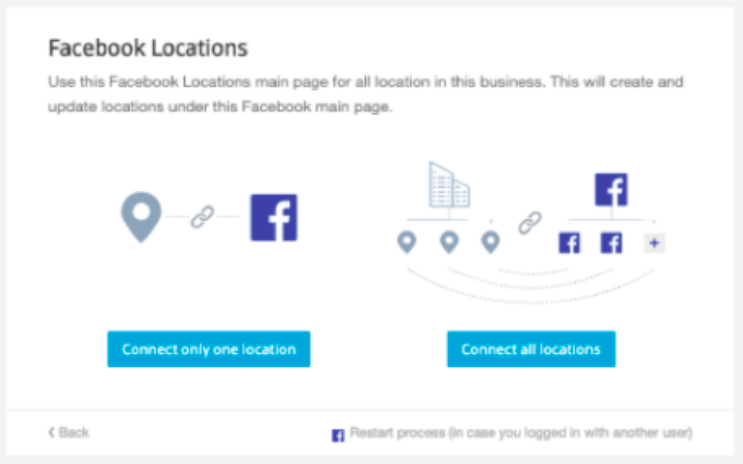
Step 5 Select Account
Select the account that contains the location
|
Step 6 Connect
Click on "Connect all locations"
|

Having trouble finding and connecting your page to the platform? Make sure you are meeting the criteria required to connect your page explained here.
Warning
If your admin Page Role is subsequently removed or your password is changed, the connection will be invalidated and must be re-established.
It is vital for the user to grant the permissions for the updates to be successful.