Campaign Template Publishing
Learn how to publish a campaign using templates!
Table of Contents
Introduction
Welcome to the walkthrough on how to publish a new social ads using templates from the Template Library! In this guide you will find all of the navigation and decisions required for publishing a campaign.
Navigation
|
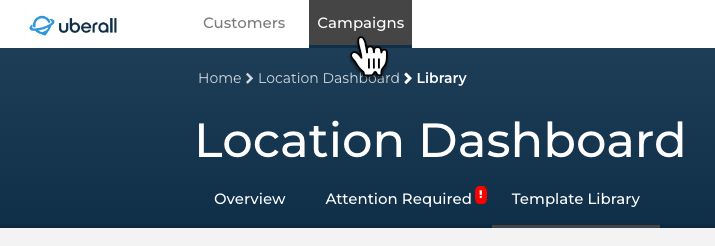
Step 1 Navigate to Campaigns Tab |
|
|
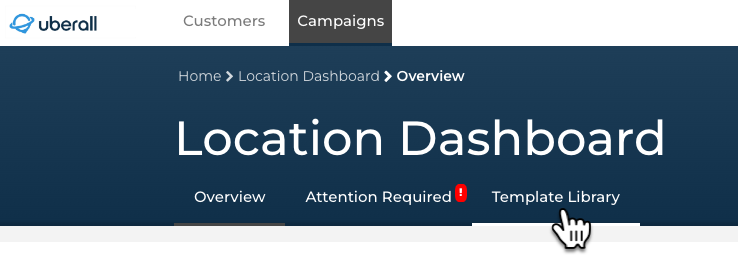
Step 2 Navigate to Template Library |
|
|
Step 3 Choose a Template |
 Note: Use the Search bar to find templates by objectives or tags.
|
Template Publisher
The publisher makes it easy to run a new campaign by reducing the amount of decisions needed to publish a campaign. The Publisher is divided into sections that will require you to complete to run the campaign. Expand the section names below to learn more about each step.
Important Note
The number of steps required for running a campaign from a template can vary depending on how a template is configured. If a section from the list below is not visible in your publisher, it means that the corresponding section of the template cannot be modified when publishing a campaign.
Additionally, the section numbers in the sample images may be different than your configuration. Follow the names of each section in the publisher to learn more below.
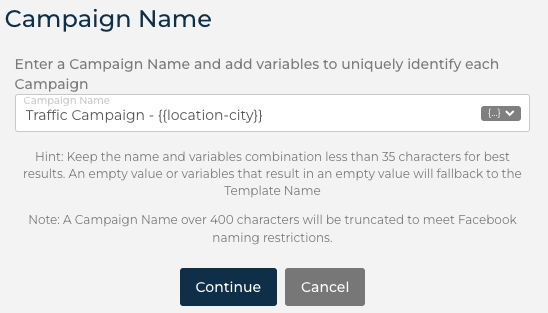
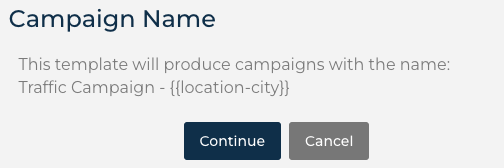
Campaign Name
The campaign name is predefined in the template and is used for campaign tracking once published.
Depending on how the template was configured, users may be able to modify the template name or will be required to keep the predefined name.
 |
 |
Campaign Name can be changed. |
Campaign name is locked. |
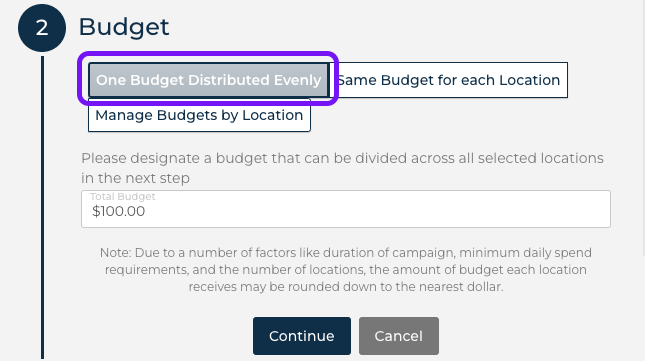
Budget
Select how to distribute the budget across the locations opt-in in the “Locations” section. There are two budget scenarios that will vary depending on the program and payment method.
- Set your own budget
- Choose budget from a list
Scenario 1: Set your own budget
|
One Budget Distributed Evenly:
Example: A campaign that has 3 locations can share
|
 |
|
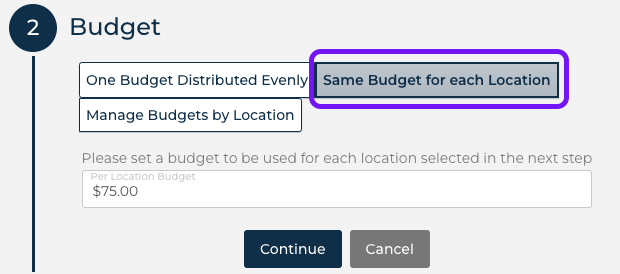
Same Budget for each Location Instead of calculating a large bucket to be divided, you can simply input how much you want each location to
Example: If you know that 4 locations are to spend |
 |
|
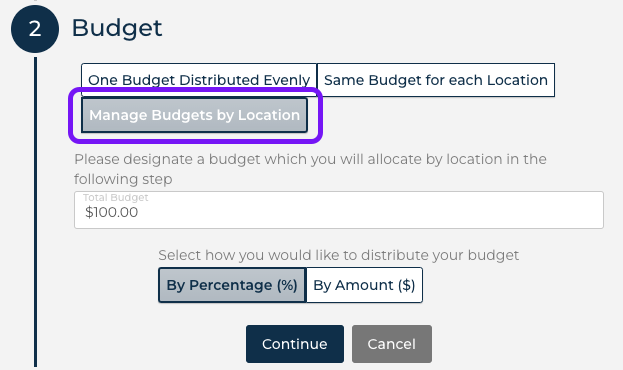
Manage Budgets by Location Start by defining a large budget to be distributed (by percentage or dollar amount). Once you move on to selecting locations you can set a unique budget per location.
Example: You are publishing a campaign for 3
|
 |
Scenario 2: Choose budget from a list
|
In this scenario the budget distribution is already predefined.
The action required is to choose an amount from the list of predetermined options. |
 |
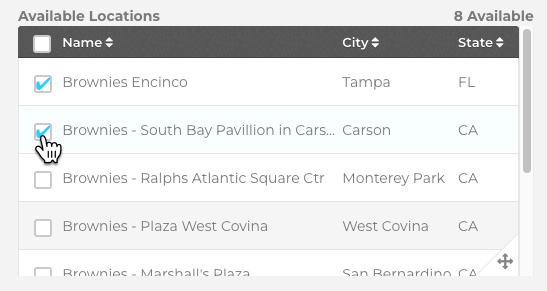
Locations
Decide which of the locations you manage will be opted-in for the campaign. Use the search and custom group filters to help narrow down the list of locations that are visible.
|
In the Available Locations section, check
The Available Locations list will only contain the |
 |
|
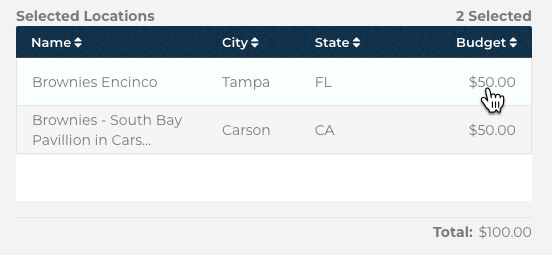
All locations that are selected will appear
If you selected One Budget distributed evenly or Same budget for each Location, this will automatically be calculated. |
 |
|
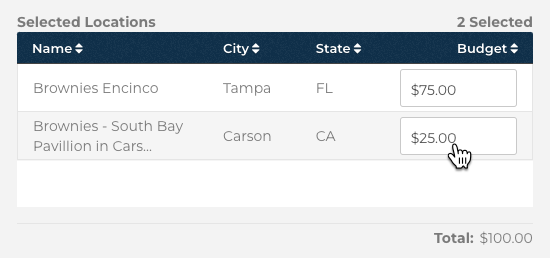
Unique budget by location If the Manage Budget by Location option was selected in the budget step, users can set a unique “Budget” for each location here. |
 |
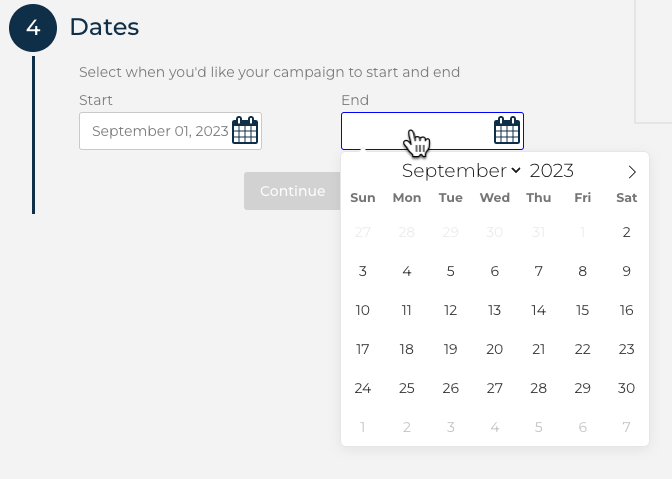
Dates
Select the dates that you want the campaign to be live on Facebook/Instagram. You will choose a start and end date. The longer the time frame for the campaign, the better Meta can optimize your campaign to get in-front of more consumers who are likely to engage with your ad.
Audience
Select the desired targeting radius to deliver the ads. All locations will be set to the same mile/kilometer radius around the geotargeting (e.g., the location's address). Think about where consumers will travel from to redeem the offer to maximize the ad’s effectiveness.
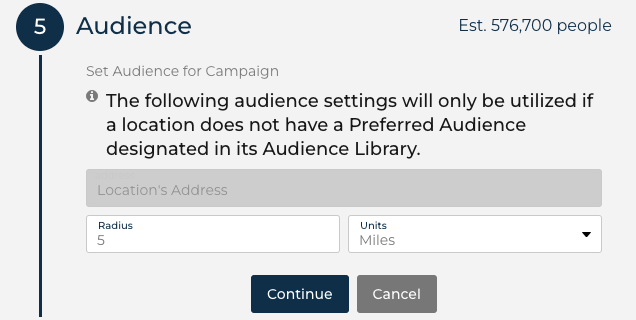
Note: If the Audience step is not visible, a geo-target and radius has already been applied to the template.
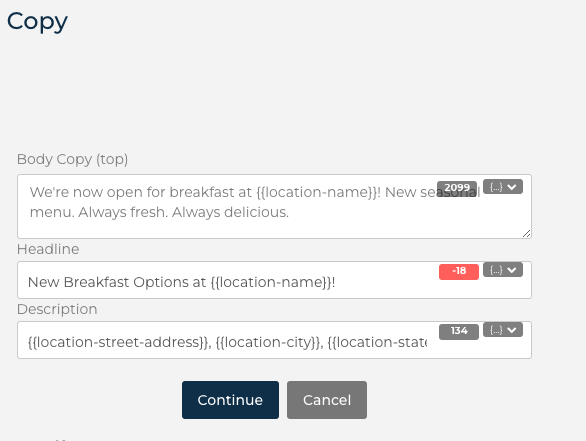
Copy
Here, users can make adjustments to the text within the campaign. There are various fields may be available for editing. The field(s) that are available will vary depending on how the template is configured. Use the ad preview on the right to see changes that are made.
|
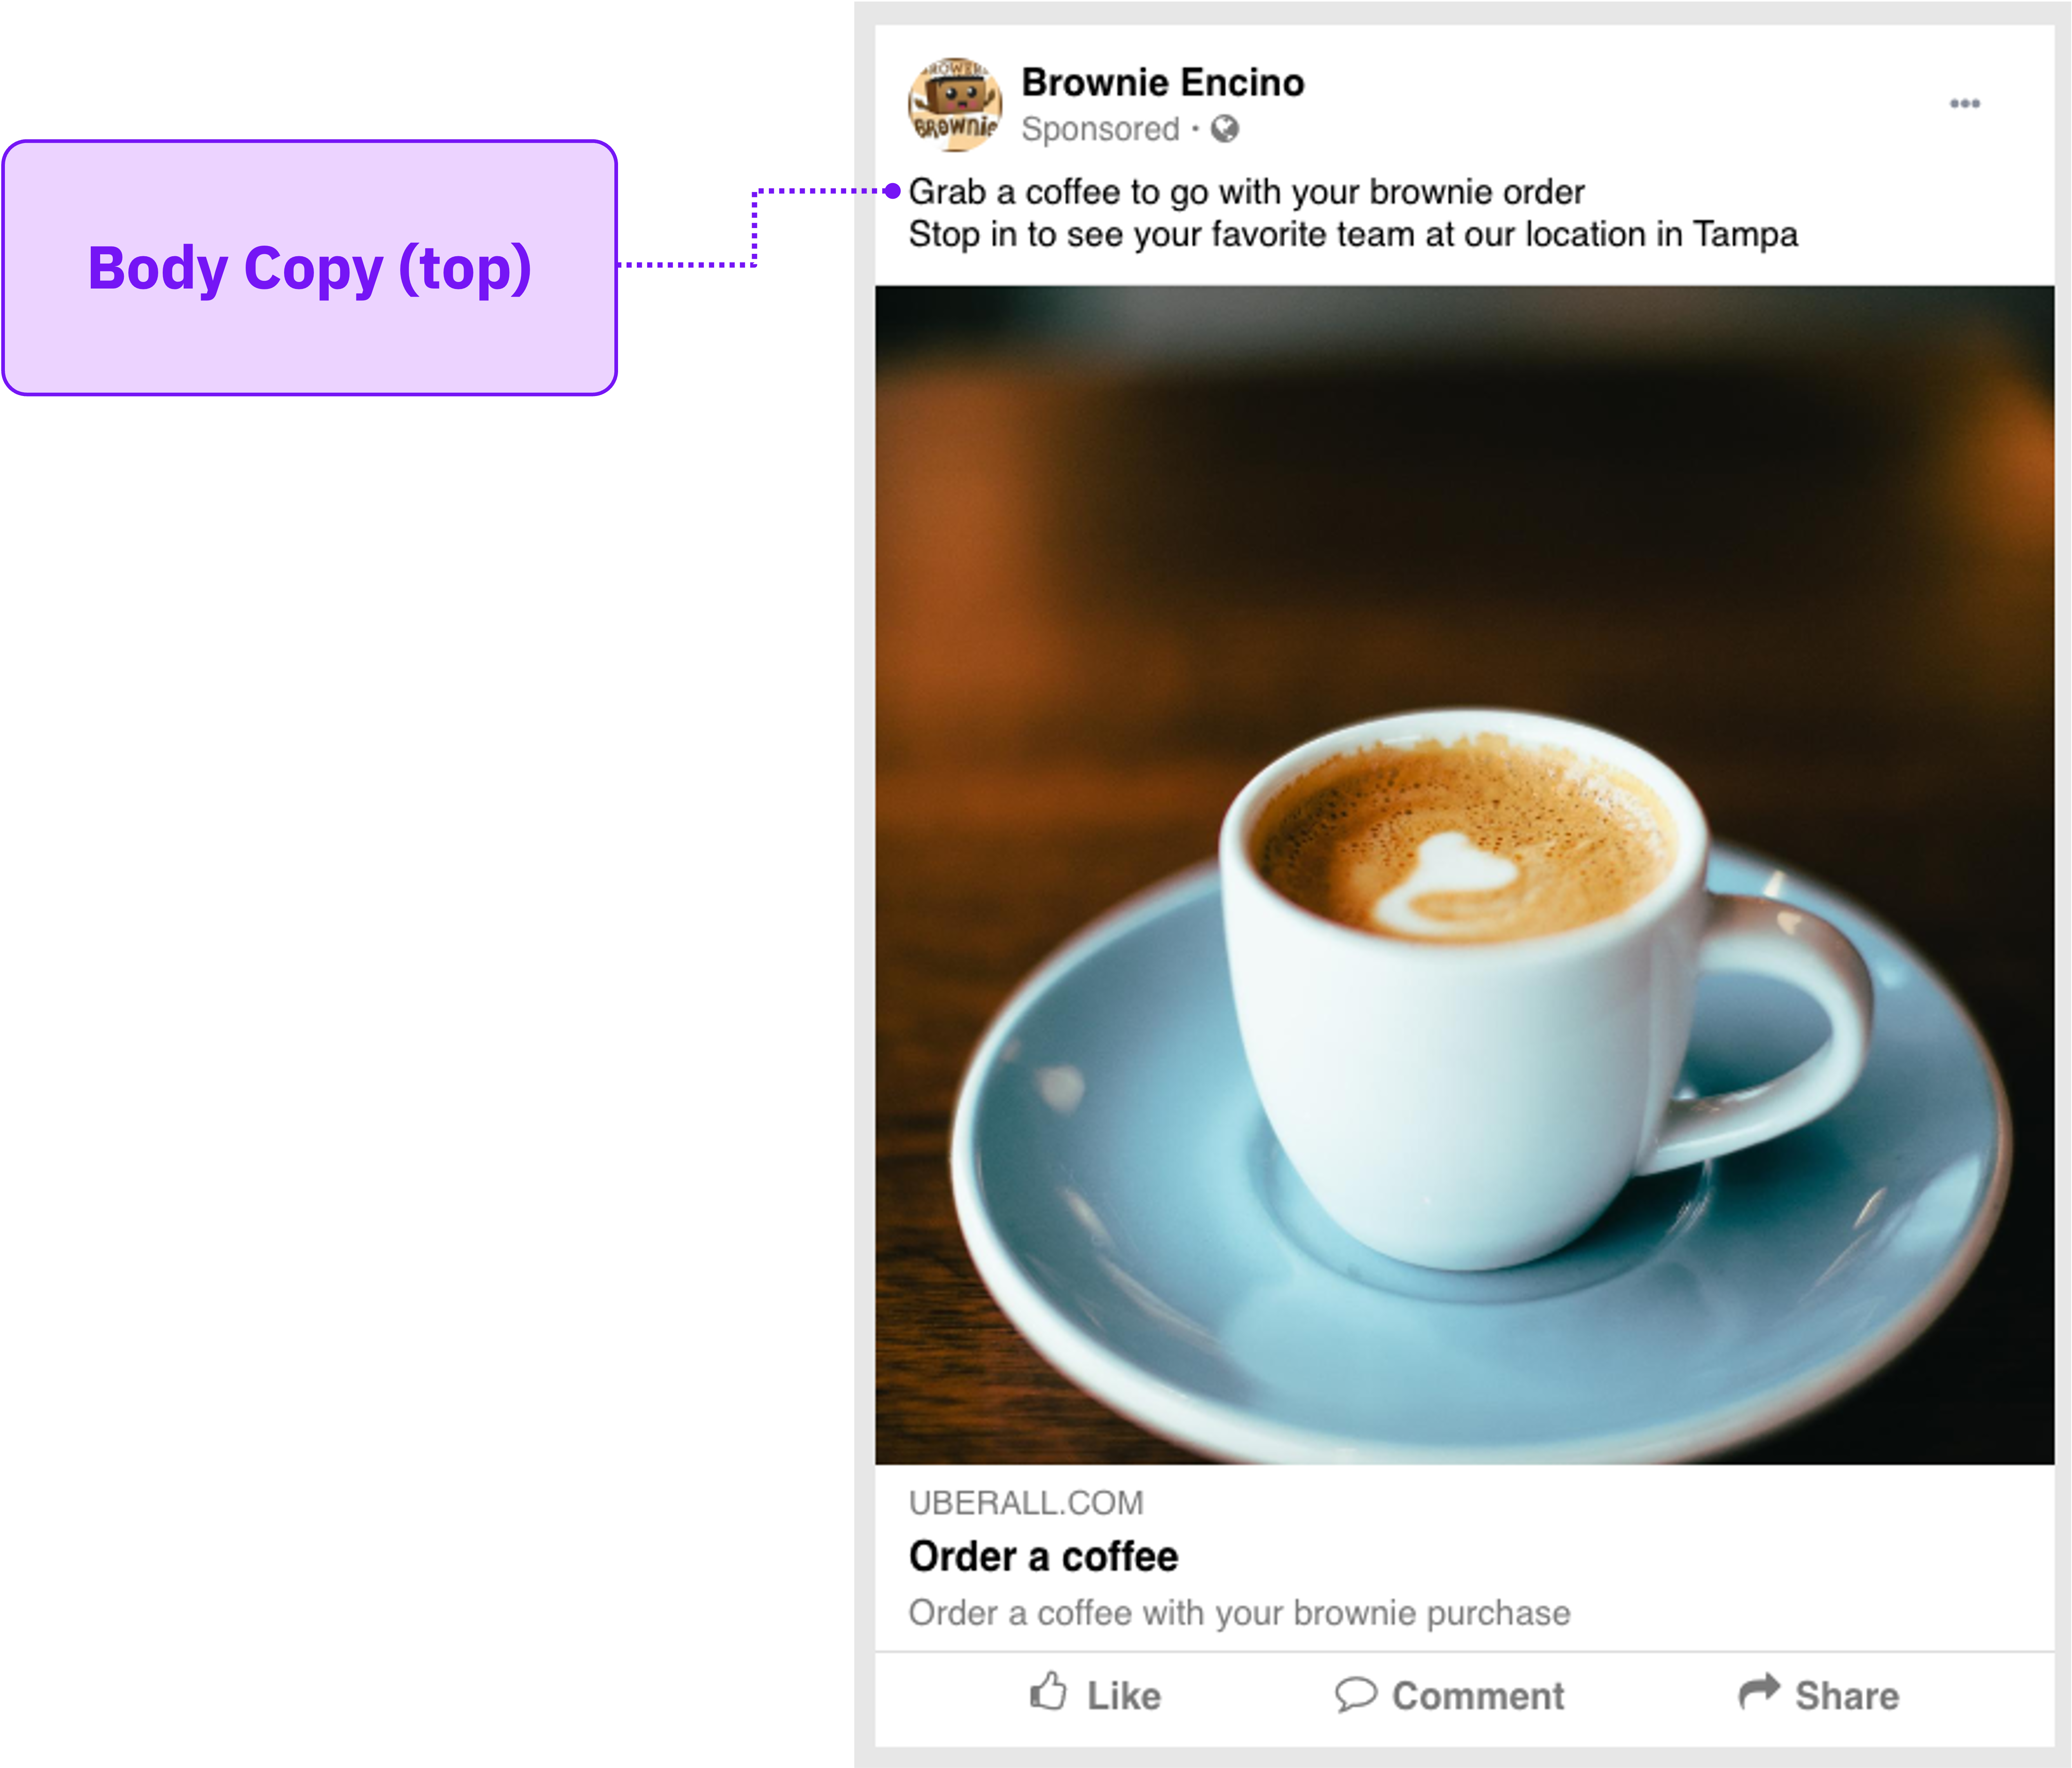
Body Copy (top) This is used for main text within the ad and is used for capturing the attention of consumers. |
 |
|
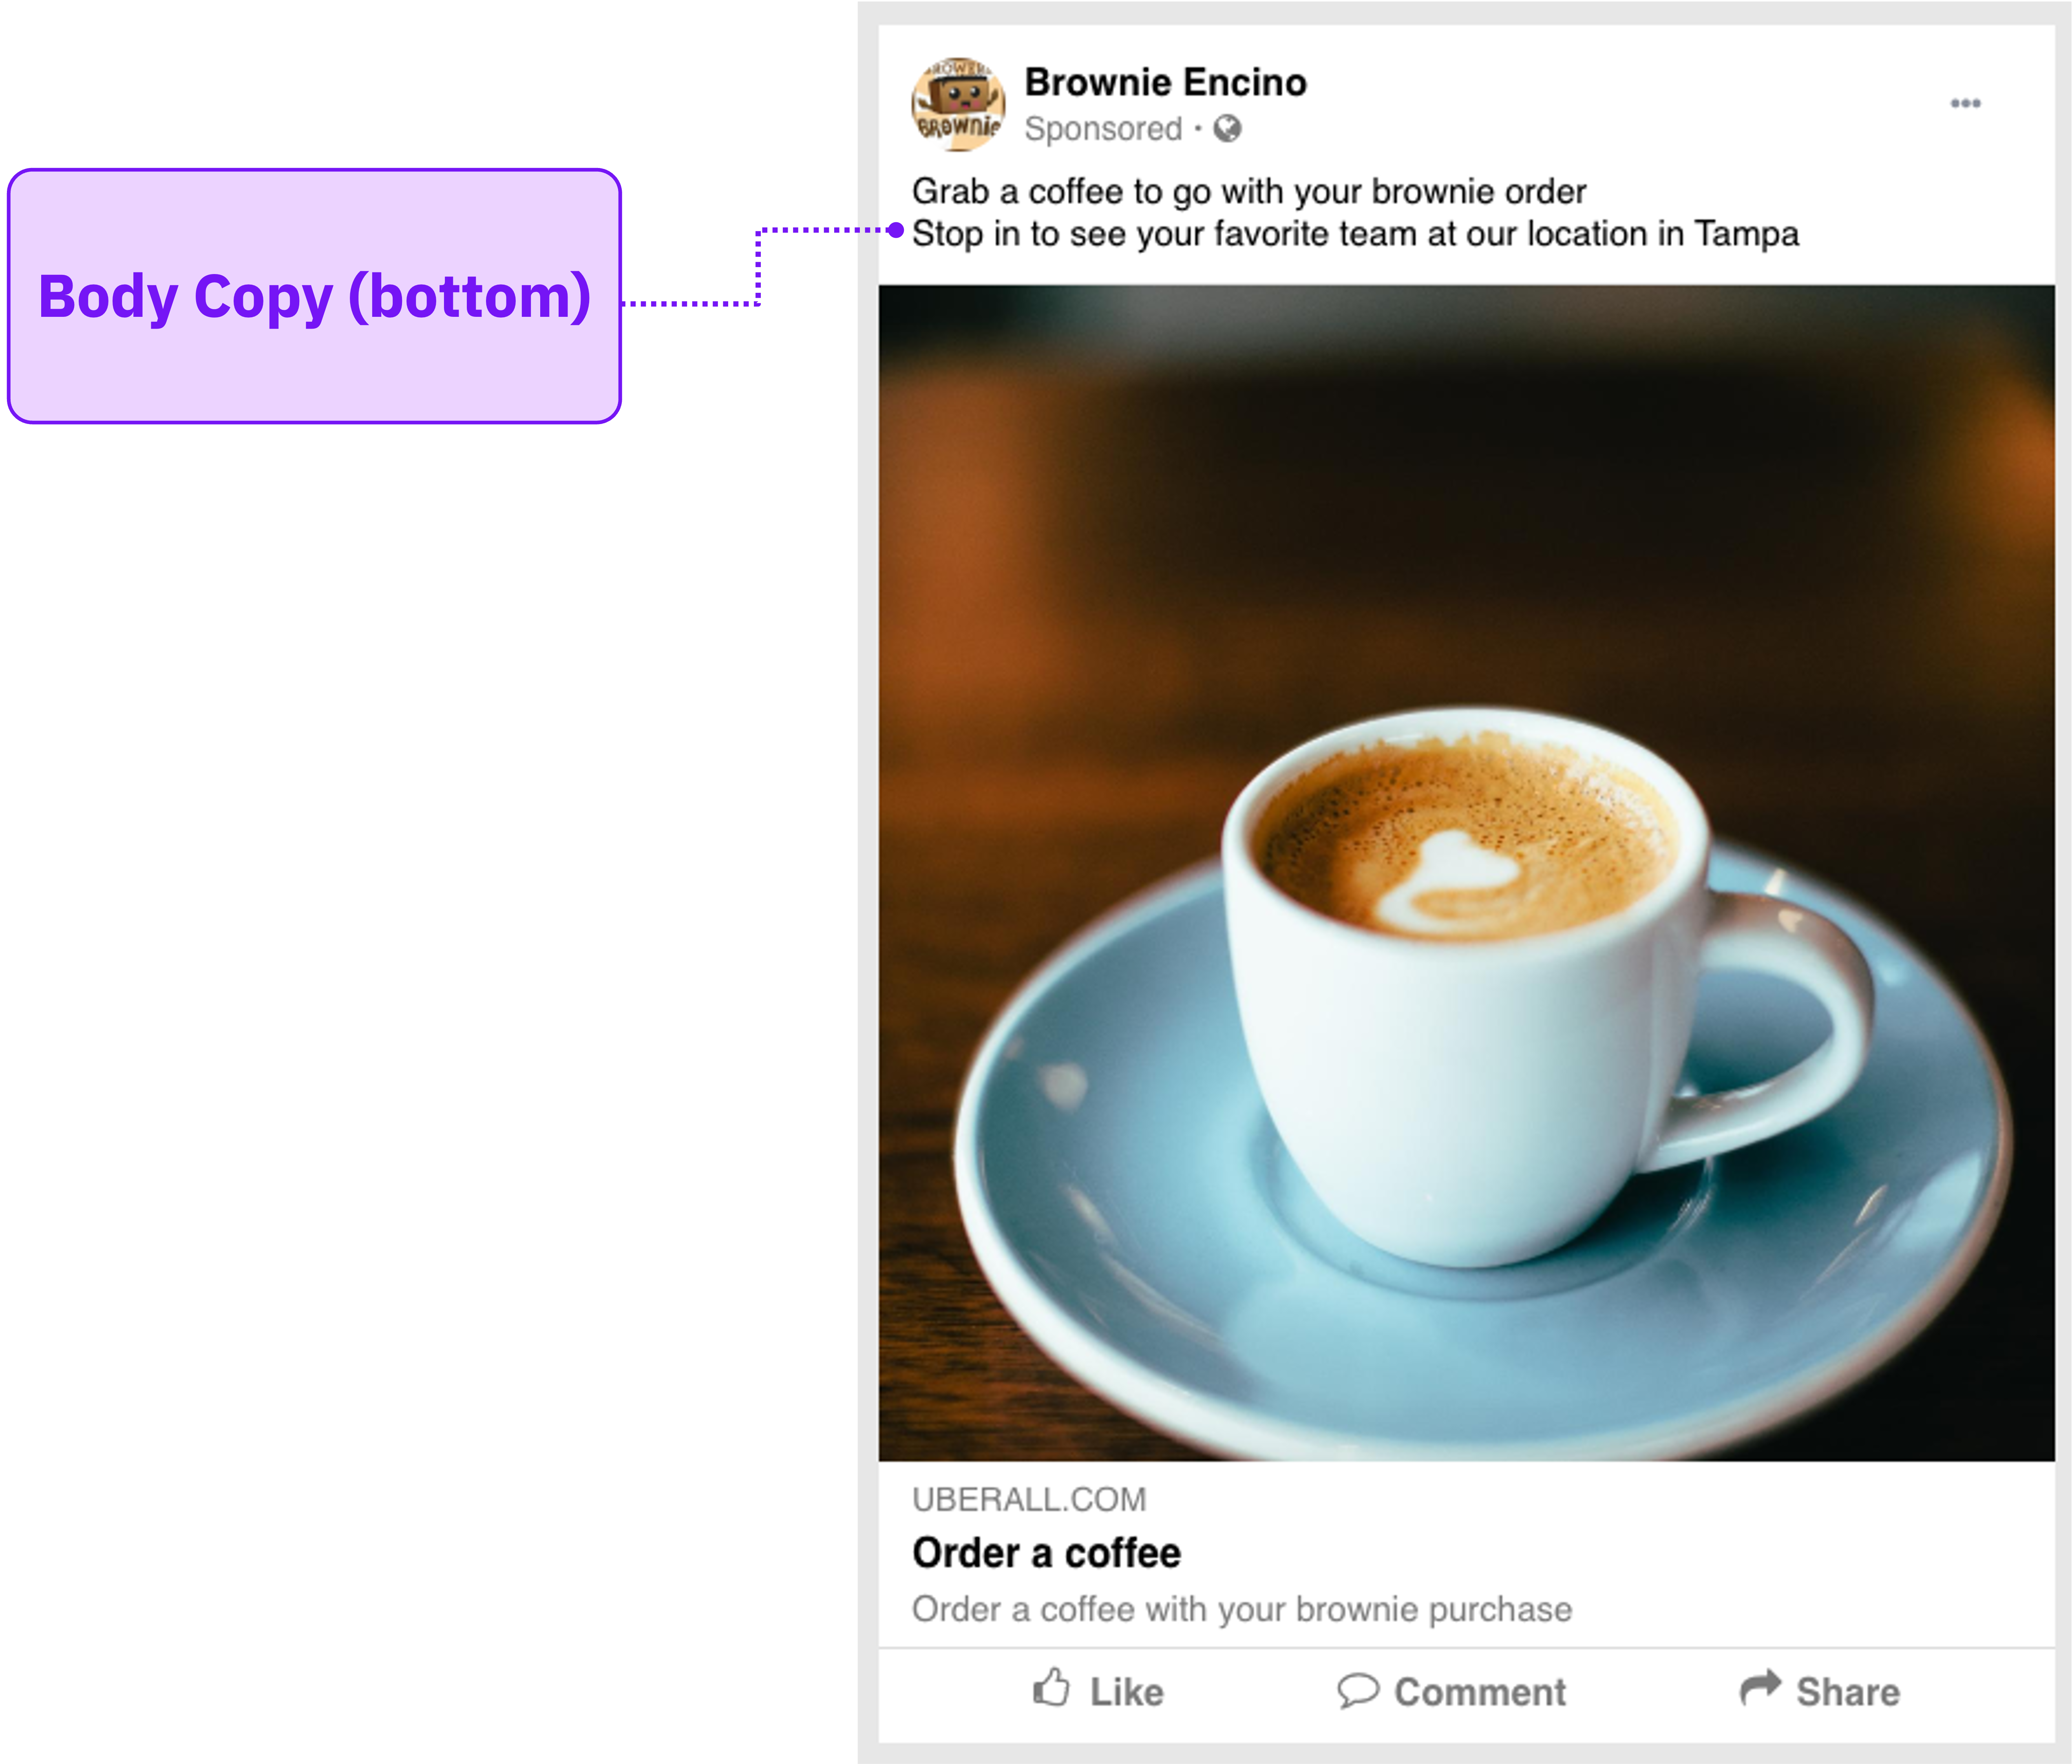
Body Copy (bottom) This is used for additional text within the ad and is often optional. This can be used for adding local elements or more details on what the ad is about. |
 |
|
Headline This is the bold text in the call to action section of the ad.
Consider keeping the text brief and to the point. This should help encourage consumers to take action:
|
 |
|
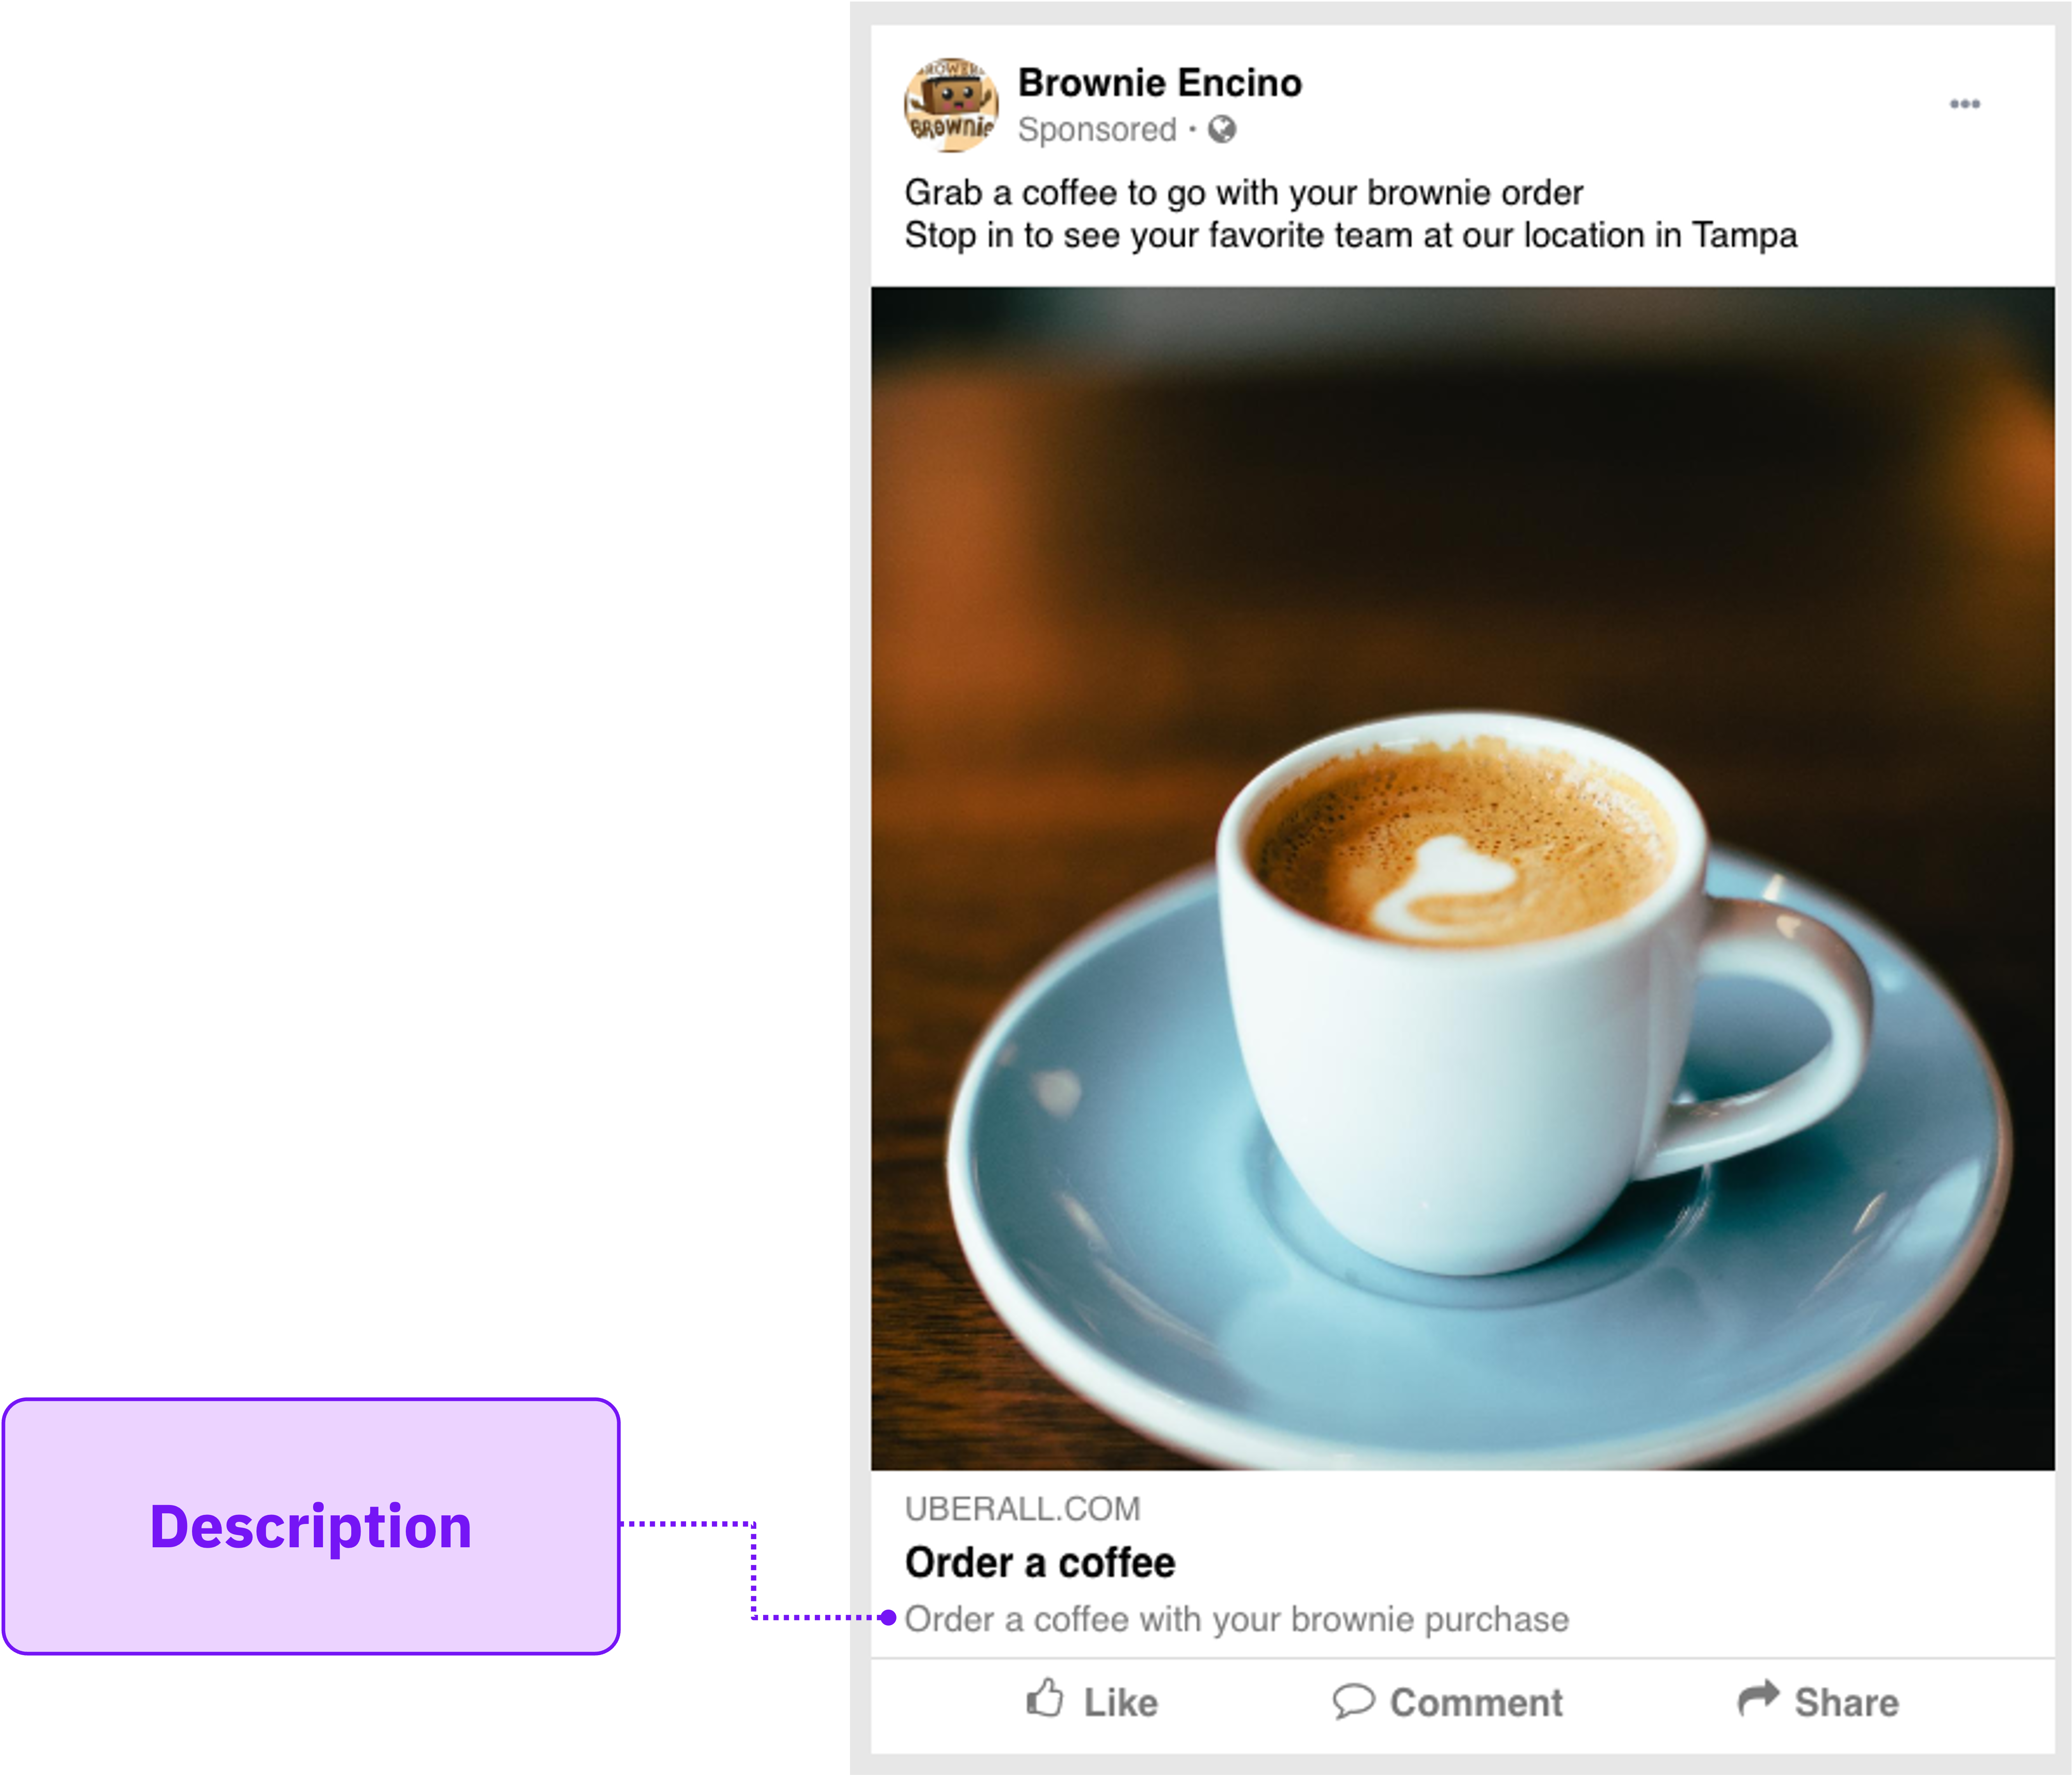
Description This is the text below the Headline. This can be used to provide more detail about the business, the ad, or the headline. |
 |
Note: If the Copy step is not visible, text for the campaign has already been applied to the template.
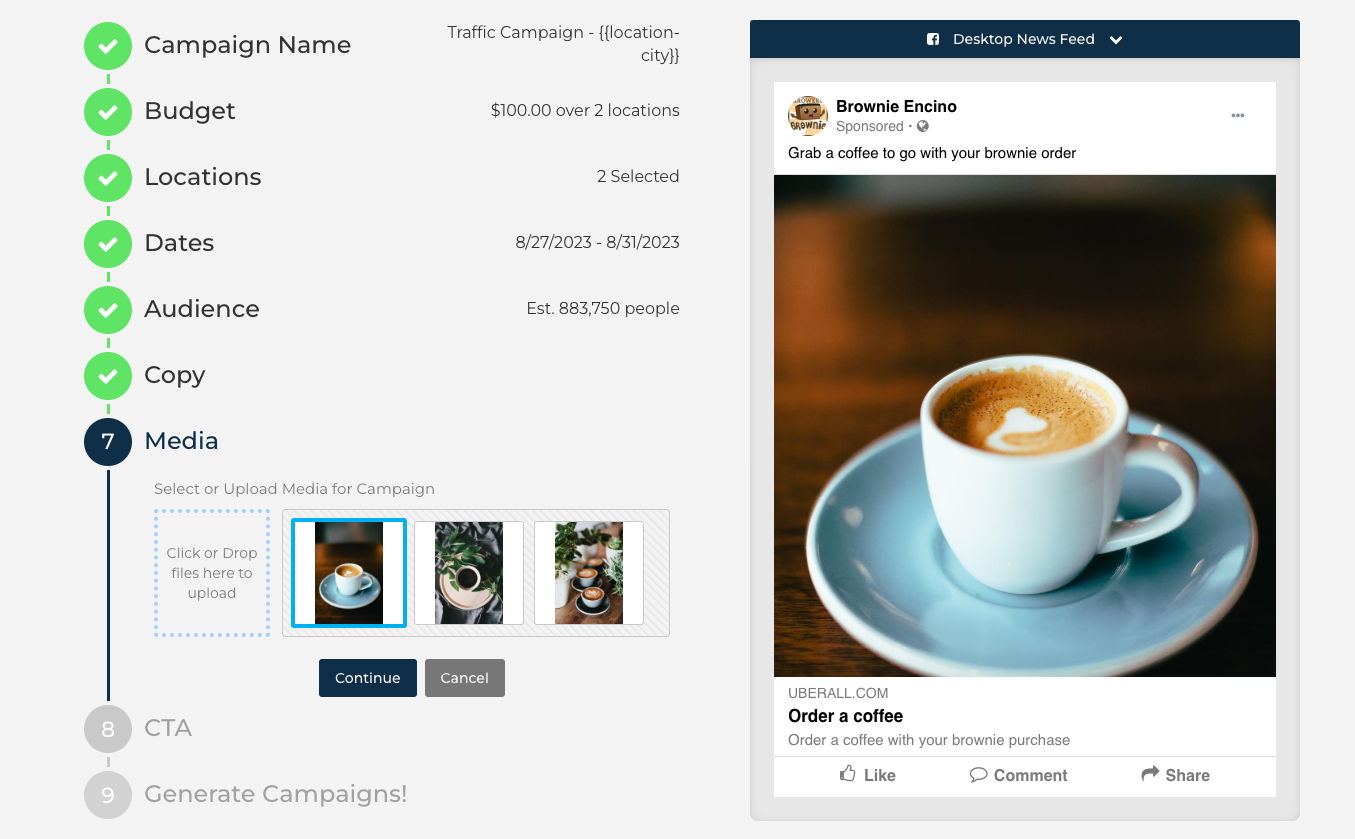
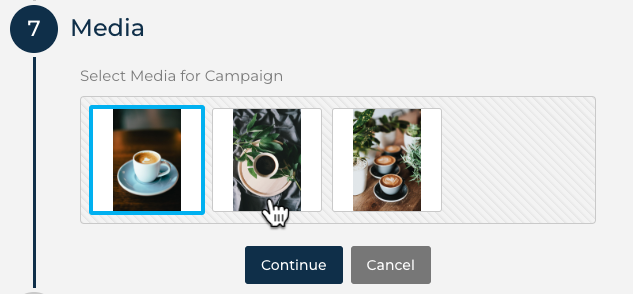
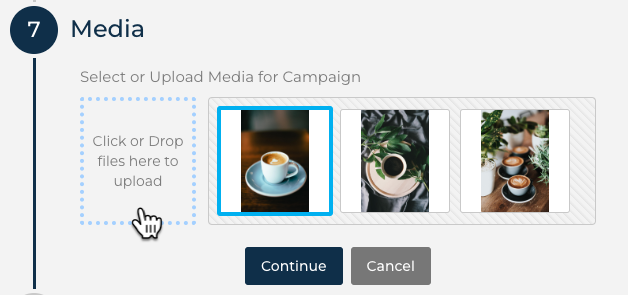
Media
This is where users can manage the image(s) that will be on the ad. There are three possible scenarios when the media can be edited:
|
1. Use the media that is already applied. Click ‘Continue’ to proceed without making any changes. |
 |
|
2. Pick another option from a predefined set One option will be preselected, however, can be changed by clicking on another image tile. Use the preview on the right of the publisher to see how the new image looks. |
 |
|
3. Upload your own image (if available) Click on the empty tile to upload a file from the computer's files. Media can be an image or video.
Be sure to consider these Best Practices. |
 |
Note: If the Media step is not visible, the media that has already been set for the campaign.
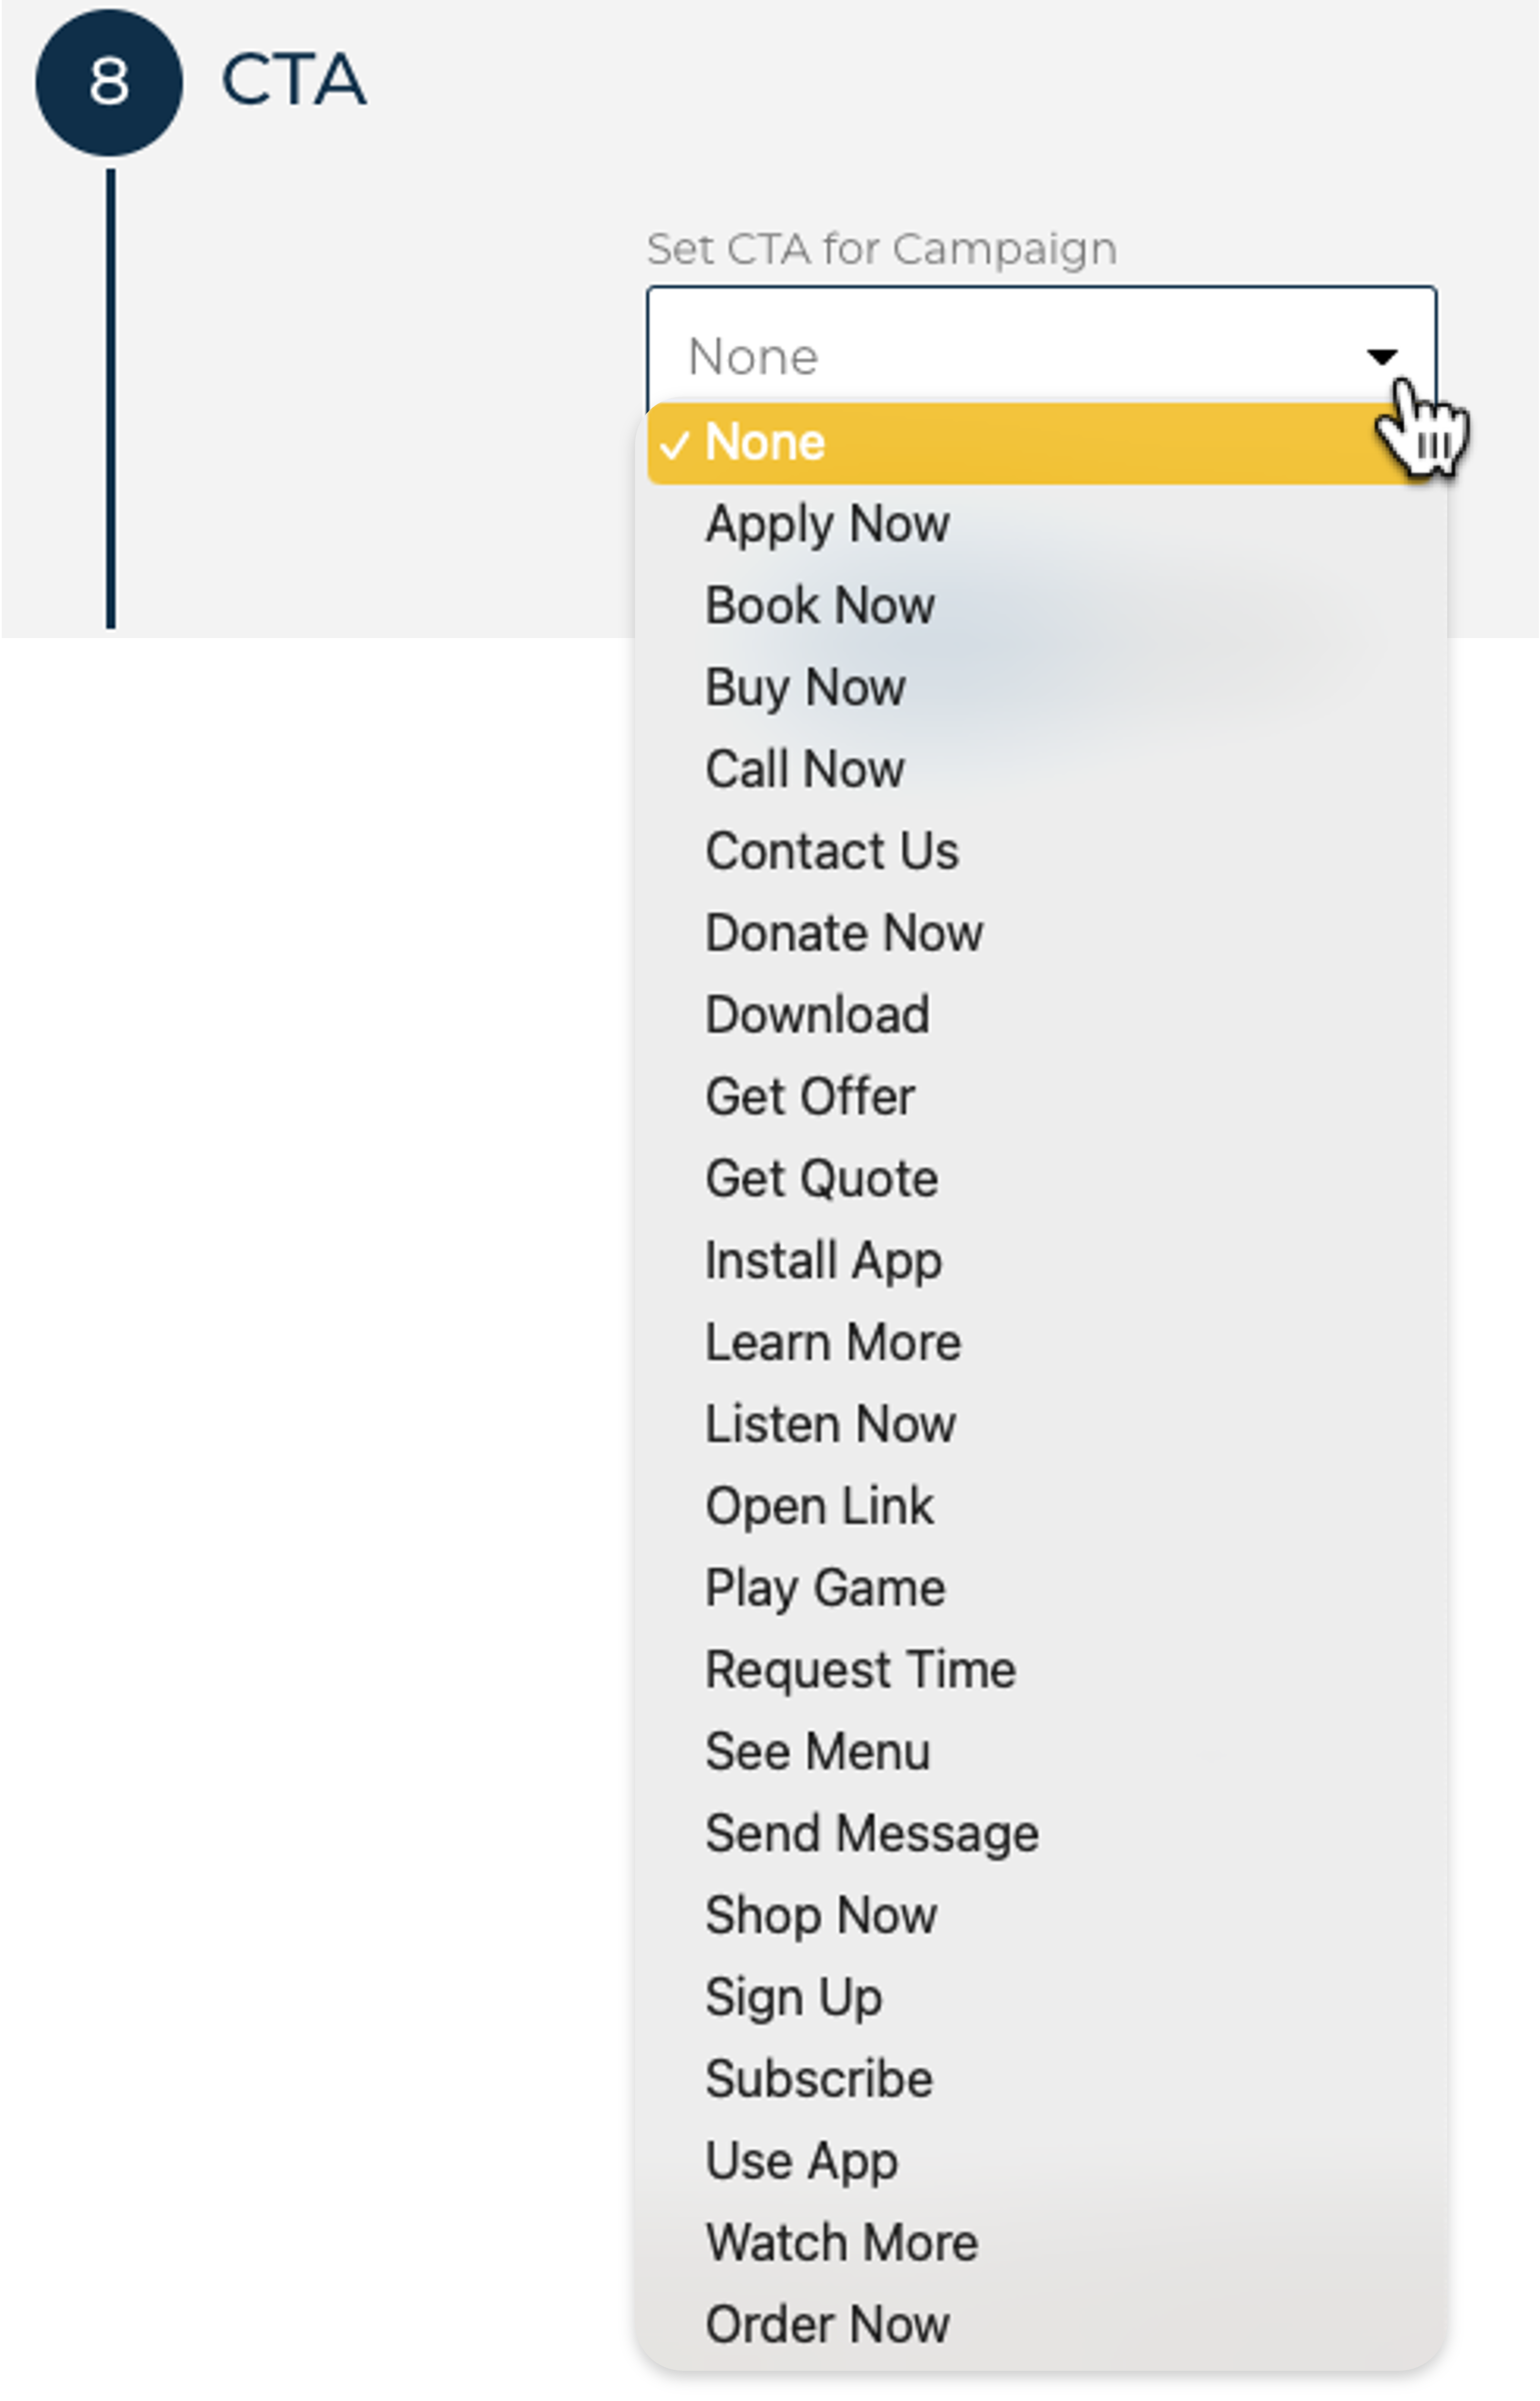
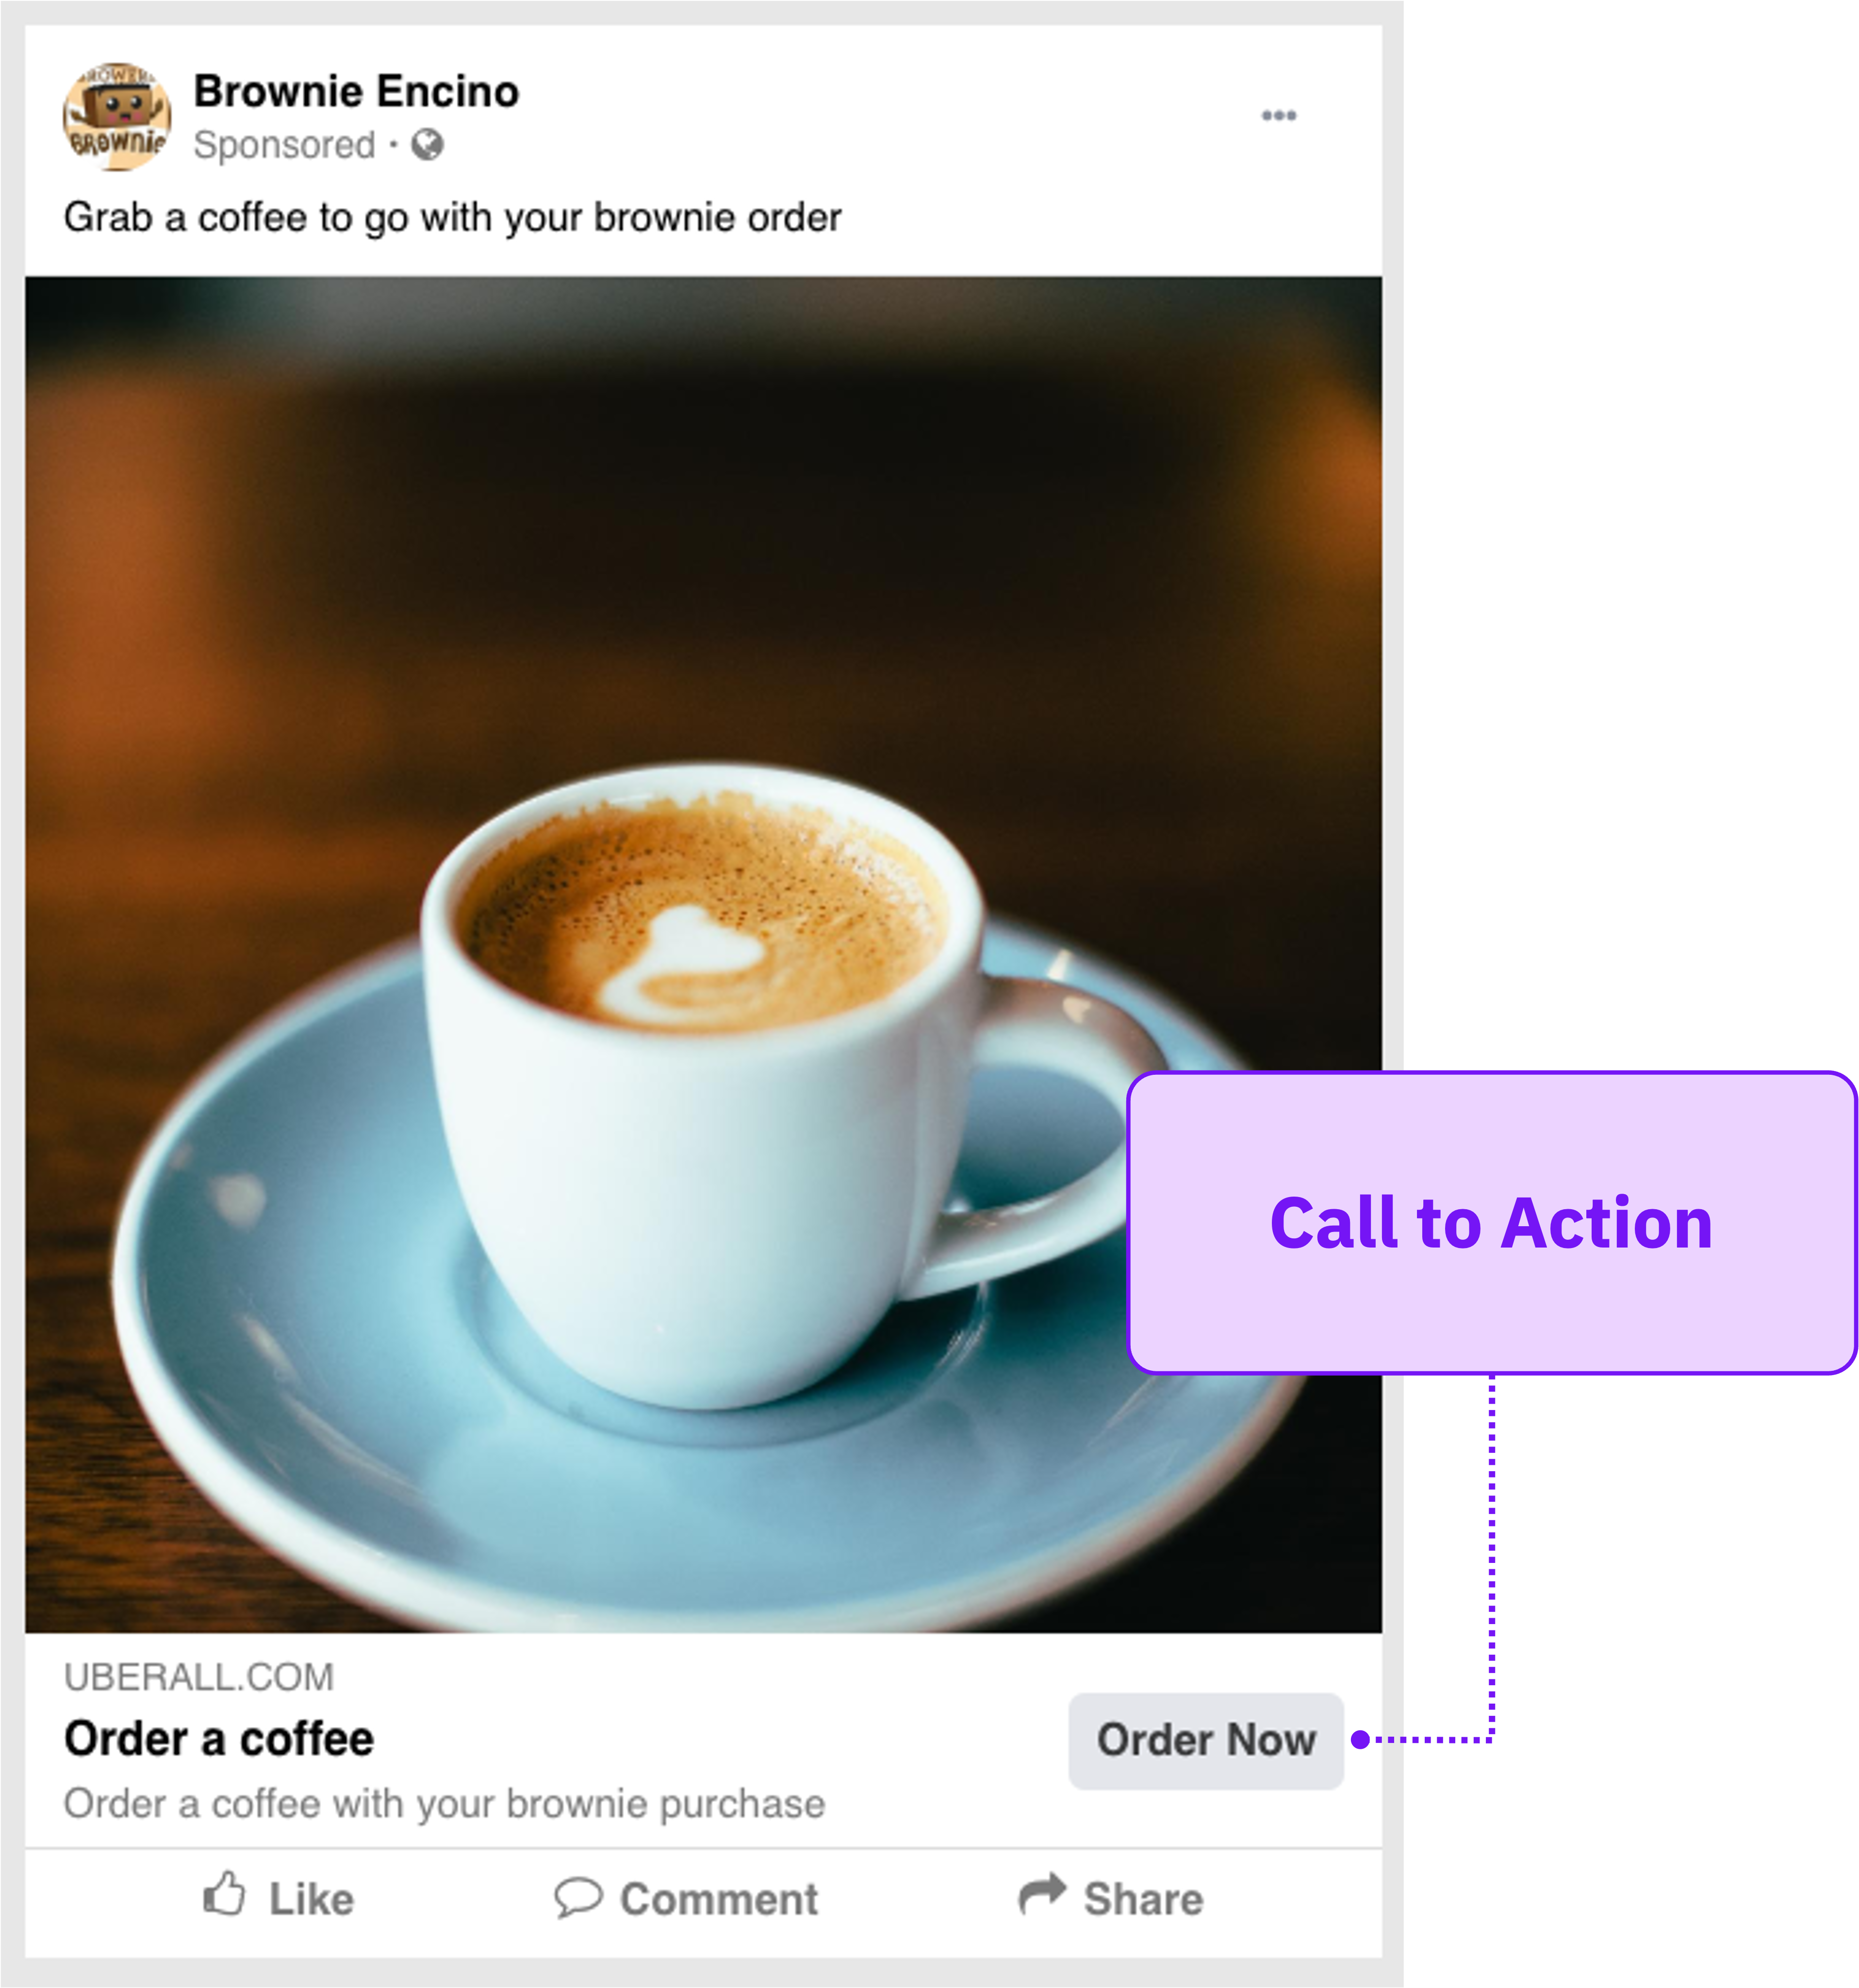
CTA (Call to Action)
The call to action is the button on the campaign that encourages engagement. When selecting which CTA button to use, it is important to consider the other components of the ad. CTAs should also reflect the goal of the campaign and consider the likelihood of the audience clicking on the ad.
 |
 |
Note: If the CTA step is not visible, the CTA button has already been set for the campaign.
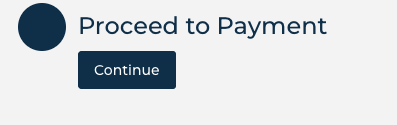
Generate Campaign / Proceed to Payment
This is the final step before the campaign is published. Before continuing, users should review the selections and check out the preview of the campaign before continuing.

If your program requires that you pay for the campaign by credit card, you will be prompted to Proceed to Payment. This will be processed using a secure payment platform known as stripe Stripe.