Social Media Calendar
Table of Contents
Introduction
To help marketers better plan and oversee social posts, the platform offers a Social Media Calendar view within the Publish section. In this calendar, users will find tiles for each of the social posts that have been published or are scheduled for a future date.
With the Social Calendar users can:
- Coordinate posts across all your channels—Google, Facebook, Instagram, and your Local Pages.
- Create, edit, and schedule posts right from the social media calendar.
- Switch from a monthly to a weekly view to see more post details right away
- Apply various filters to see the posts you want to see, e.g. by channel, creator, location, status, or label.
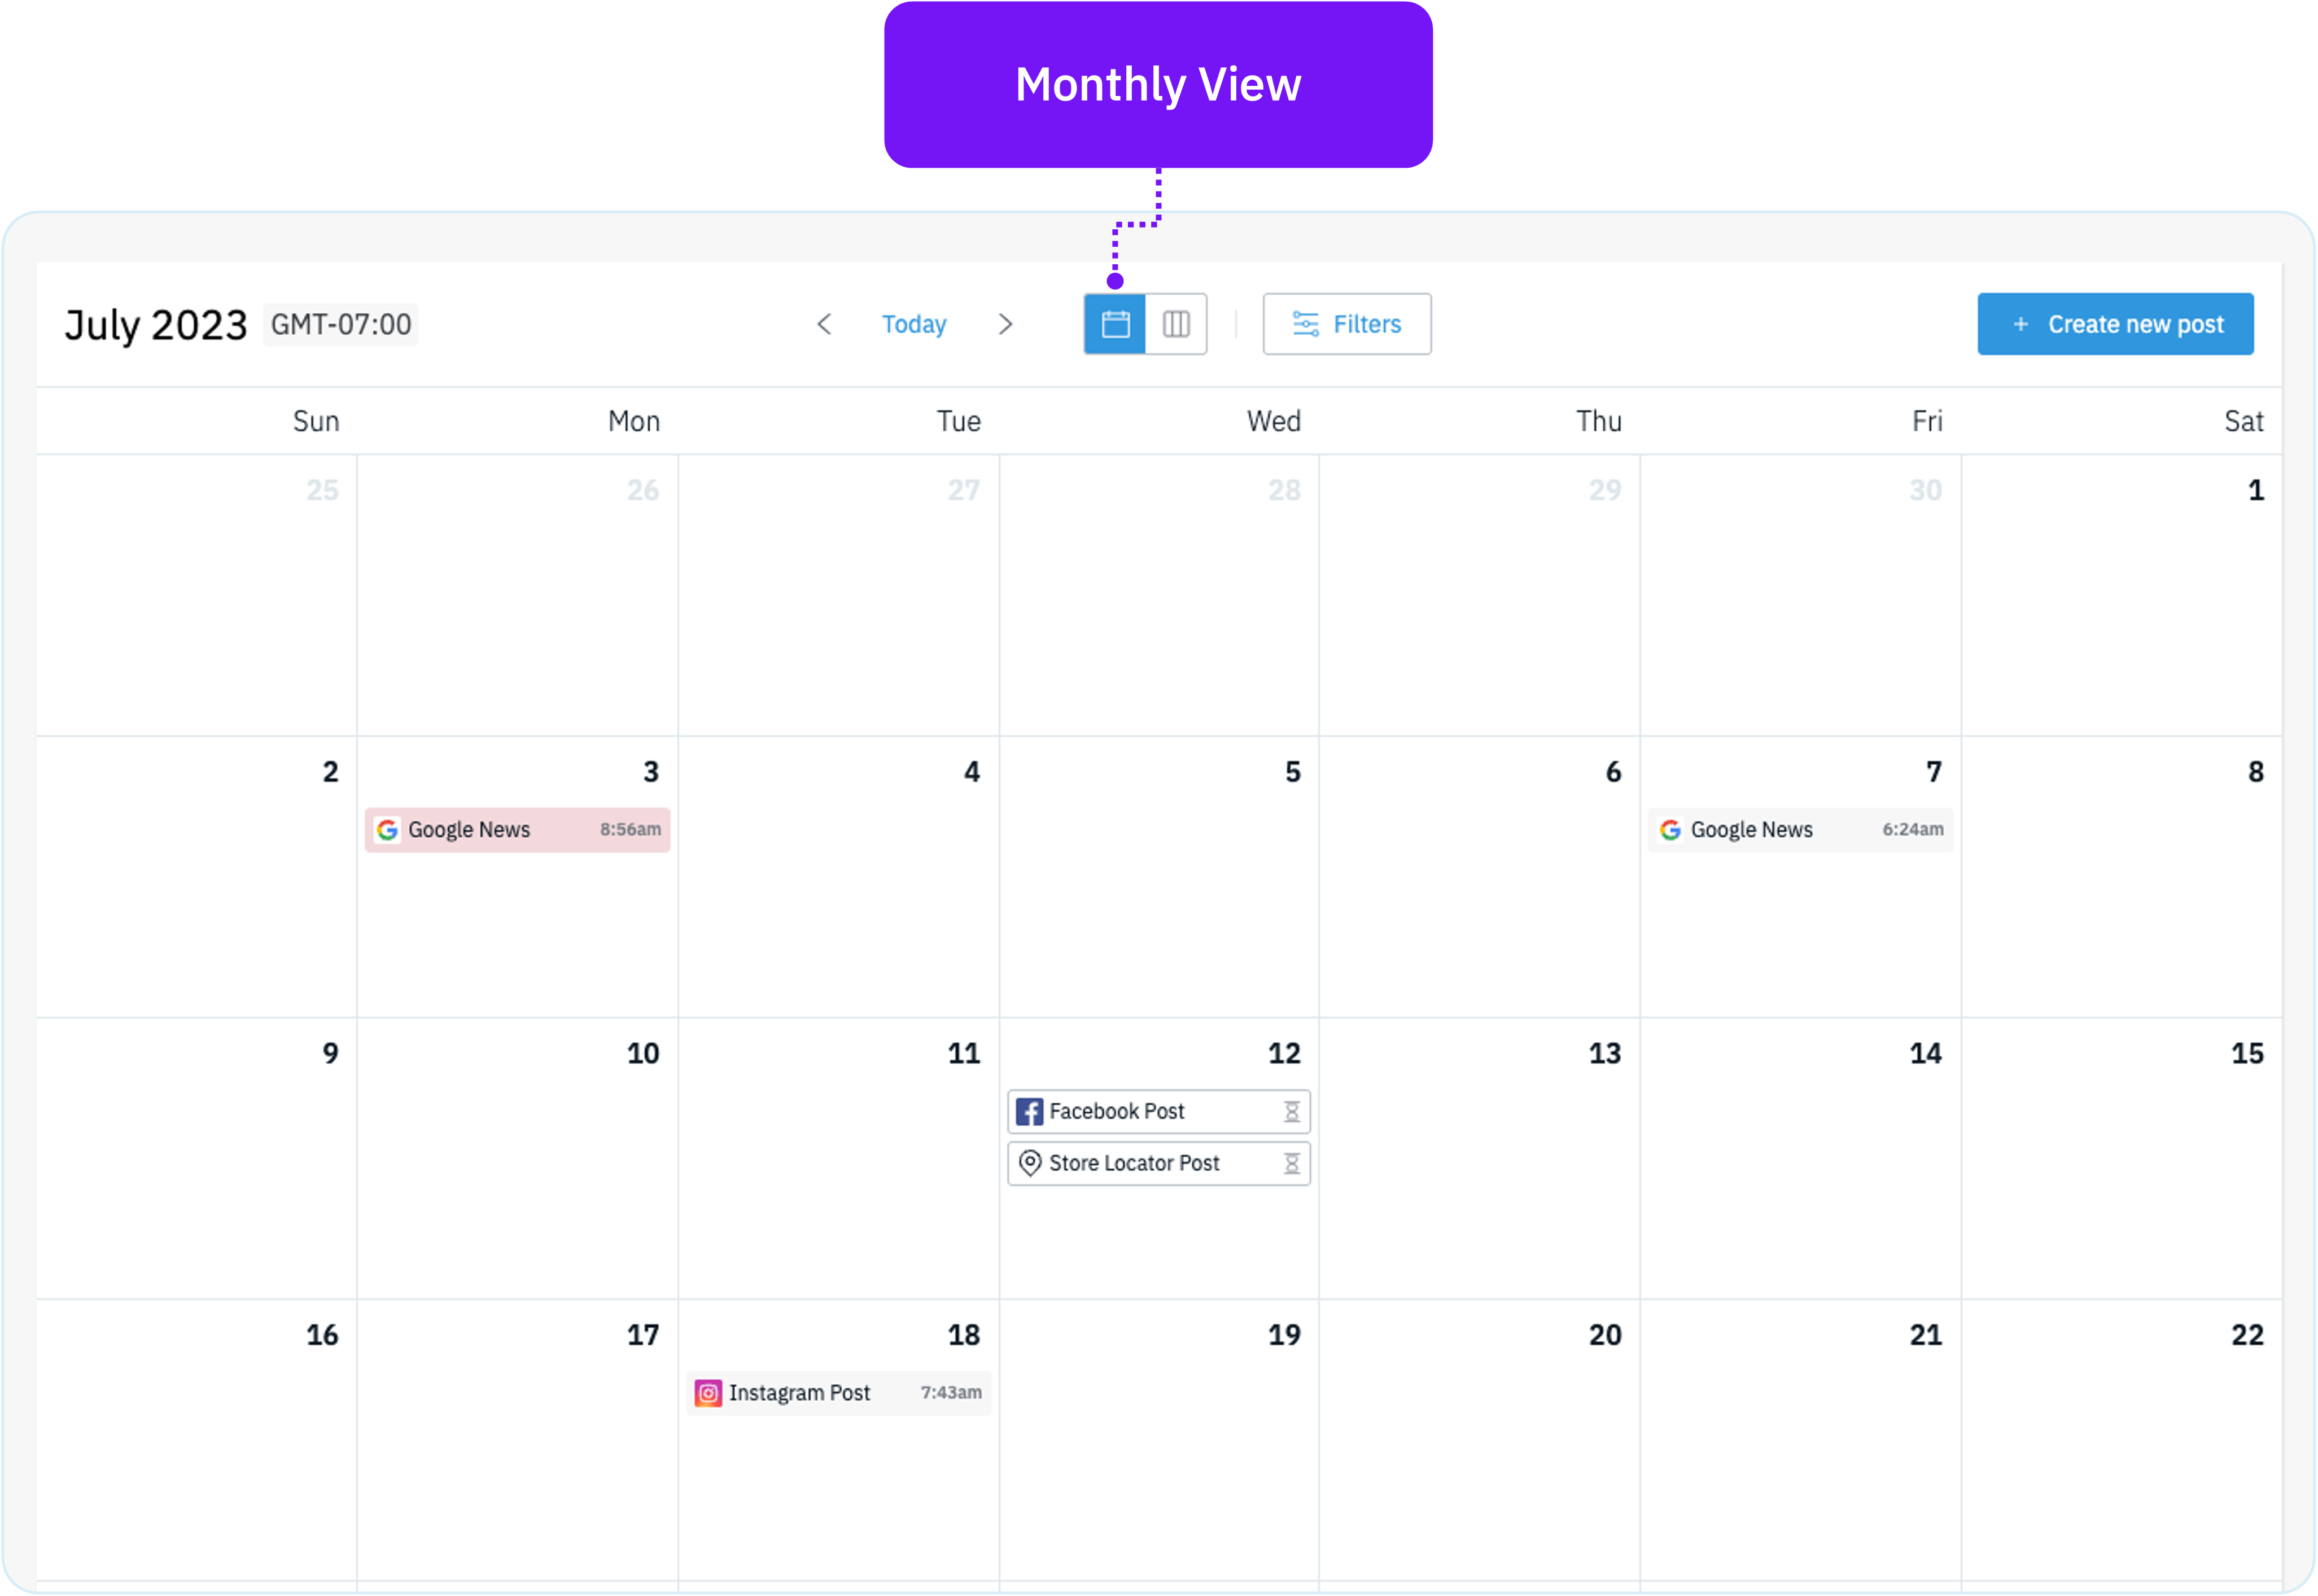
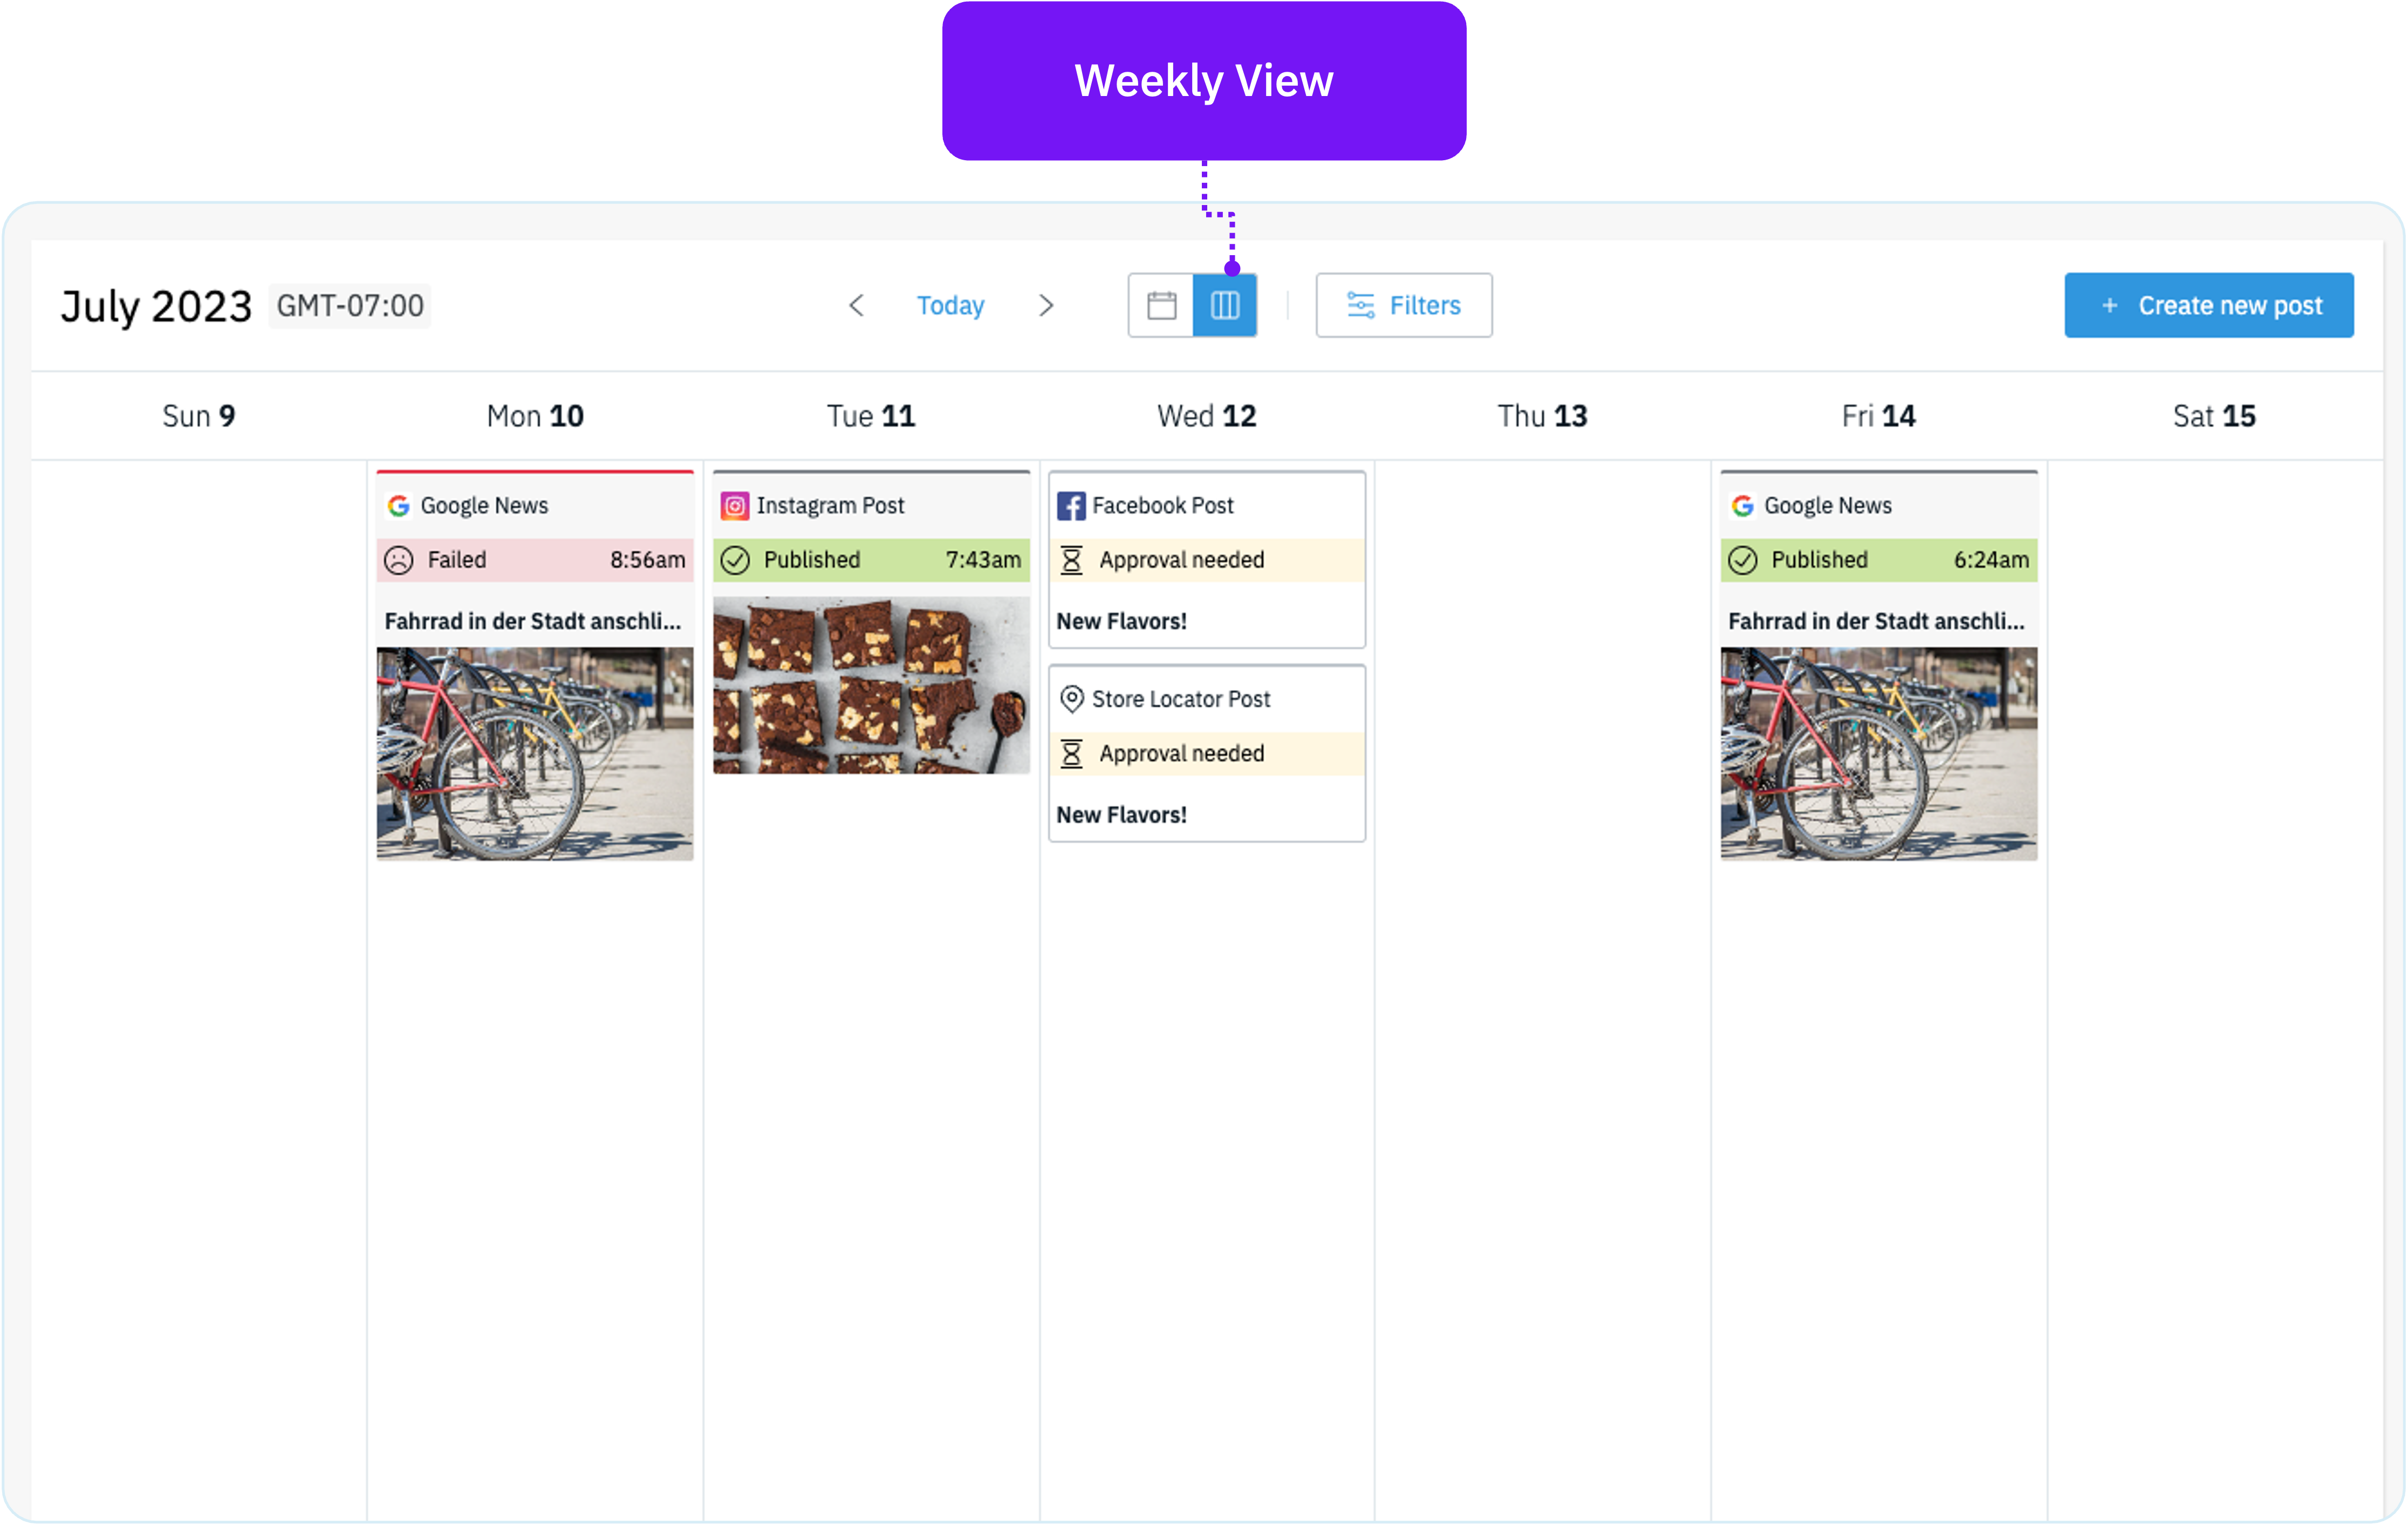
Calendar Views
The Calendar is available in two views. You can either see content in a monthly or weekly view. Use the toggle at the top of the calendar to change the view.
 |
 |
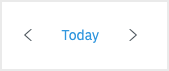
Navigation
Use the arrows at the top of the calendar to change the viewable time frame. Depending on your calendar view (Monthly or Weekly) the time frame will move forward or back by month or week respectively. Clicking “Today” will return to the present day within the month or week.
Filters
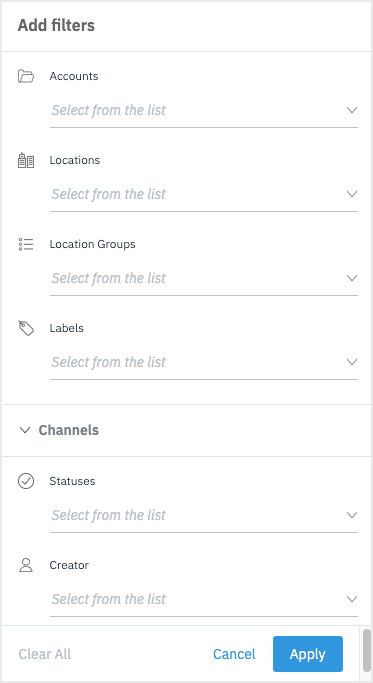
Filters can be used to limit the amount of visible content within the calendar and to track the status of content.
- Accounts: Multi-account managers can identify which account(s) content is displayed in the calendar.
- Locations: Identify which locations to see content for in the calendar.
- Location Groups: See published content for locations within a designated location groups. Location groups are created in User Rights.
- Labels: See the content for the locations within a designated Label. Labels are created and defined in the location profiles.
-
Channels: Expand the list to decide which social channels you can see content for.
- Example: Instagram, Facebook, Google, etc.
-
Statuses: Use this filter to set visibility of content in the calendar based on the publication status.
- Example: Published, Scheduled, Pending approval, etc.
- Creator: Use this filter to see content created by specific users.
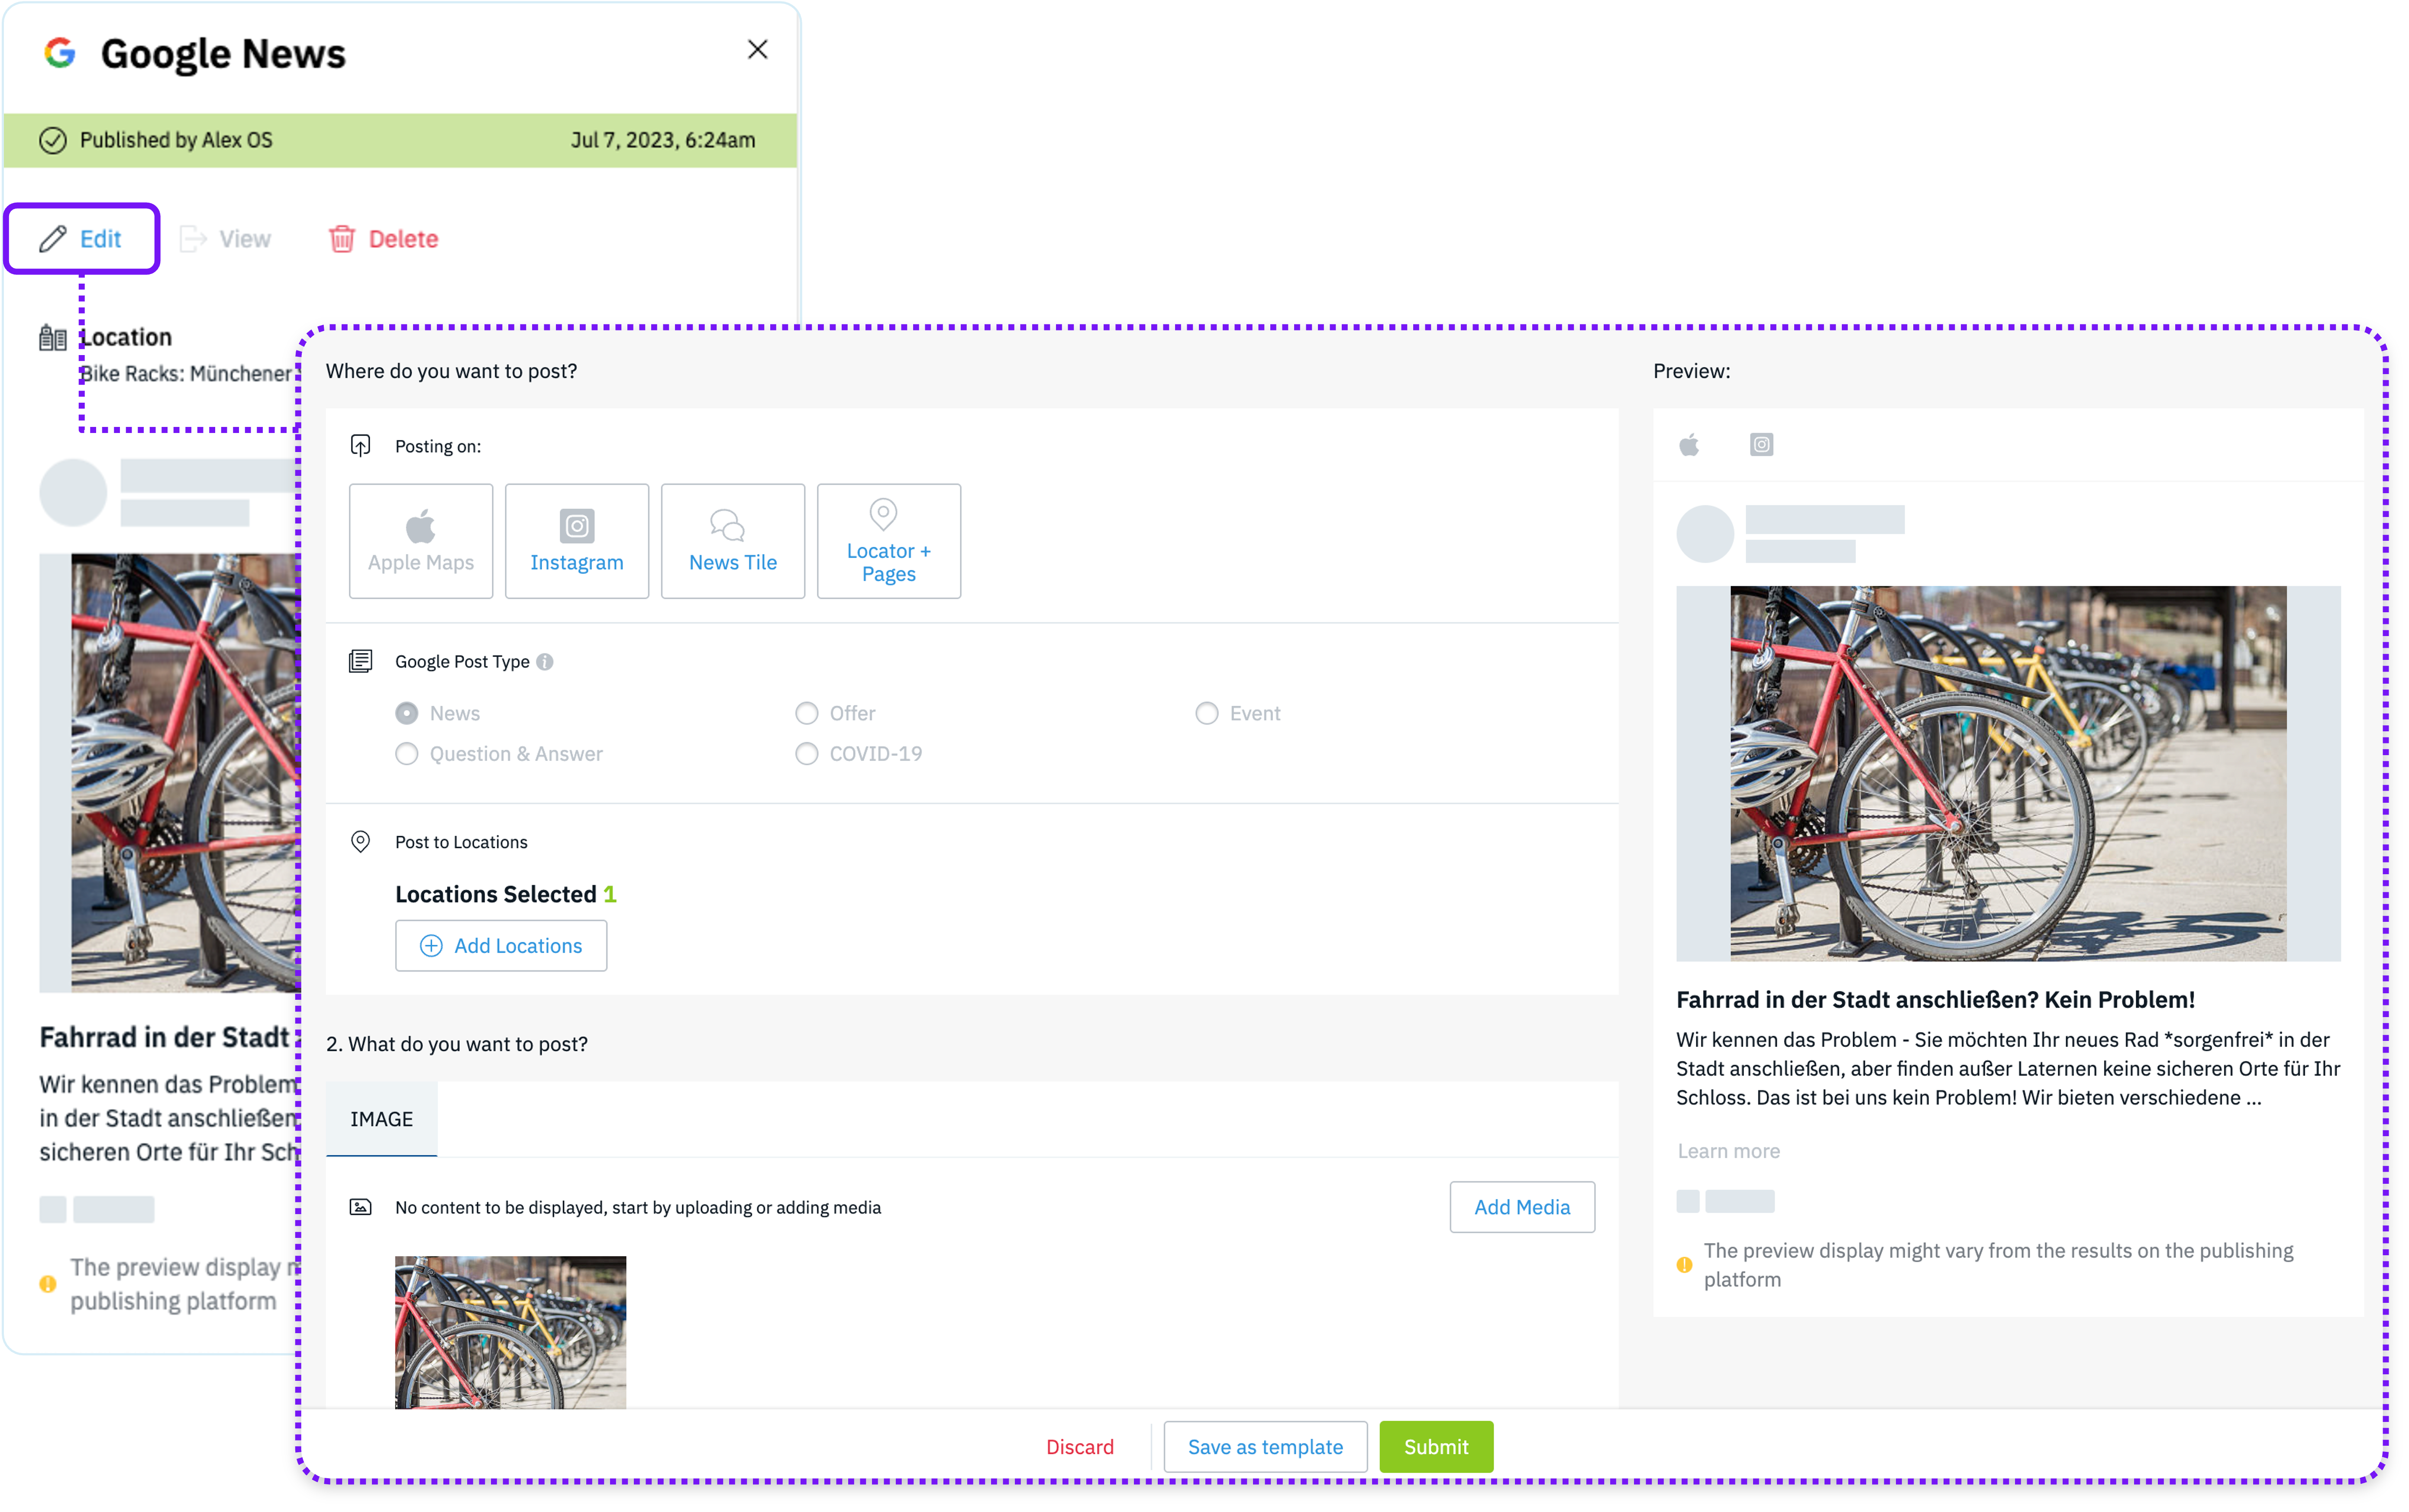
Previewing Social Posts
Utilize the calendar to see a preview of the social content that has been published. Simply click on a content tile to reveal a preview pane that displays details for the post.
In the preview you will find:
- The social channel and post type
- Status of the post, who created it, and the publication date and time.
- Actions to edit, view the post natively, or delete the post.
- Details of the locations opted-in to the publication
- Preview of the post including media and copy.

Editing Posts
Posts can be modified from the post preview. Click on the Edit button in the preview to launch the Social Publisher to make modifications to your post. Additional actions available are to remove a post by clicking on Delete or viewing the post natively by clicking View button once the post is published.
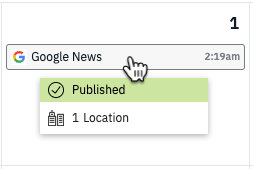
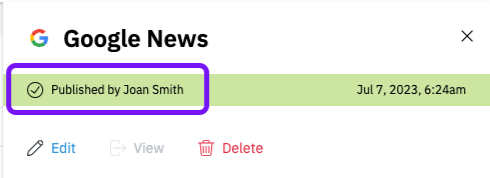
Publication Status
The Calendar displays the current publication status of the post. Users can determine the the publication status by hovering over the tile of the post and in the post preview.
 |
 |
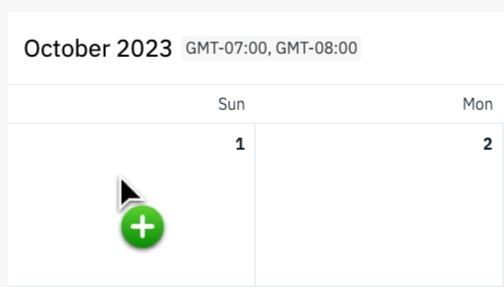
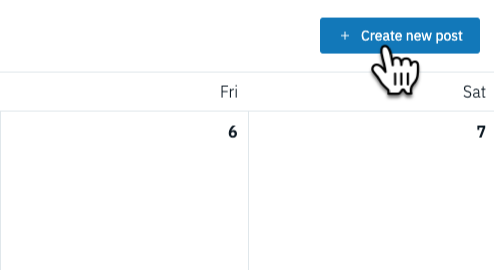
Create a Post
Utilize the Calendar to identify gaps in the social posting cadence and quickly spring into action to schedule more content for consumers to engage with. New content can either be created by selecting a future date in the calendar or by clicking on the + Create New Post button. Both options will launch the Publisher to create new social content.
How to start a new post | |
|---|---|
 |
 |